Copyright (C) 2016-2018 British Railway Modellers of Australia Inc.
SA - 1141 - Wellingford and Bakewell Bridge Railway - More InformationSA - 1141 - Wellingford and Bakewell Bridge Railway - More Information |
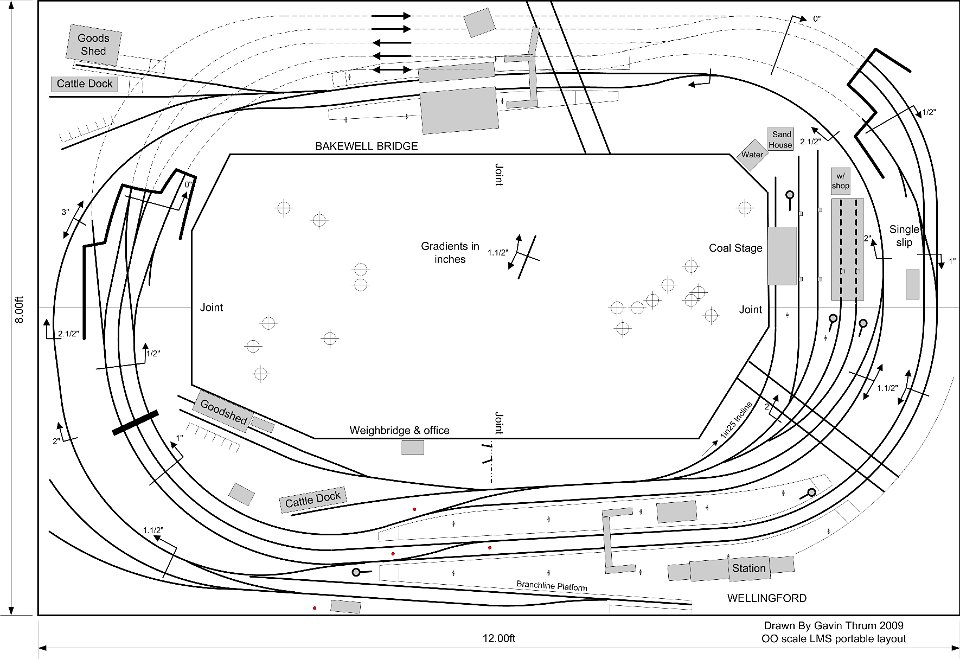 1 Track Plan |
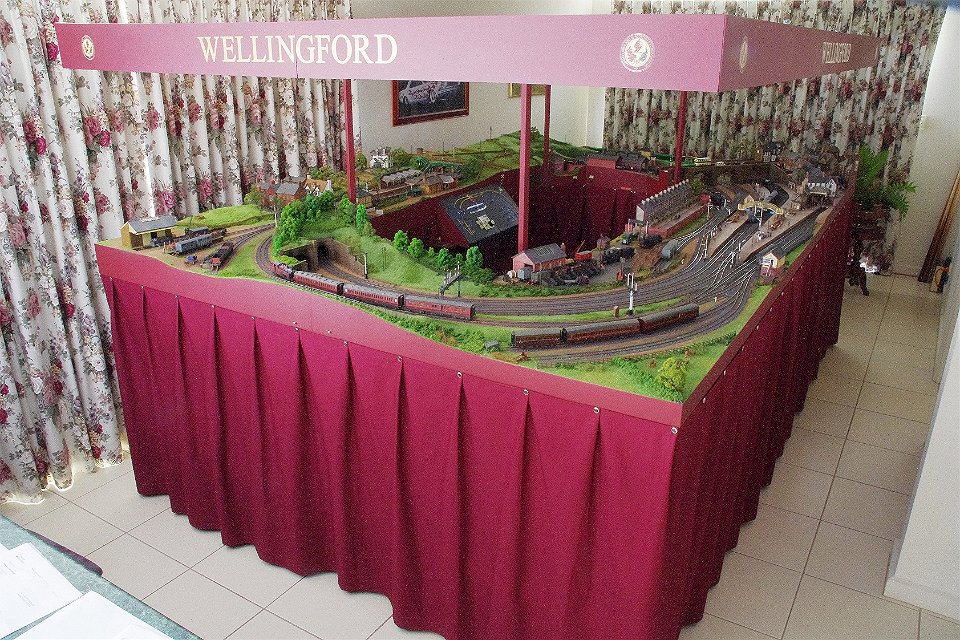
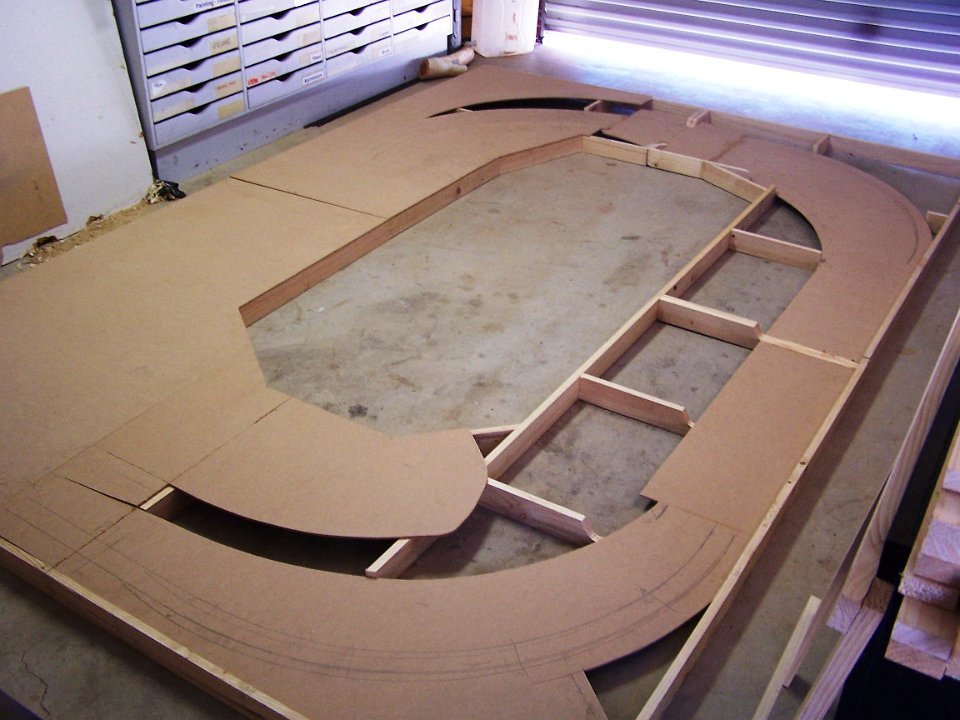 2 The four modules under construction, laid out on the floor before legs were installed. |
 3 The baseboard modules... |
 4 The dual entrances with embossed stone card (Metcalfe M0050) glued directly onto the MDF. So that the tunnels didn’t look as if they led to a wide-open chasm, arched walls needed to be installed and braced to give the effect of a hollowed-out stone-lined tunnel. |
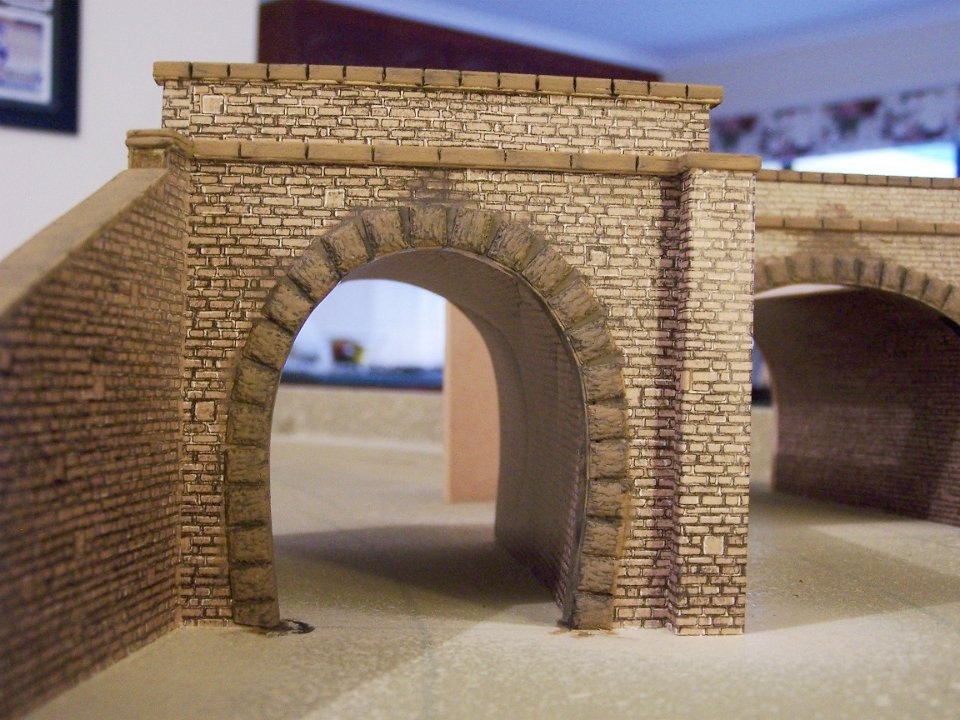 5 The completed entrances after touching up with a mix of paint to match the embossed stone card blocks. This is then given a final wash with thinned black paint to match the black mortar effect that is printed on the card. |
 6 Tunnel entrances |
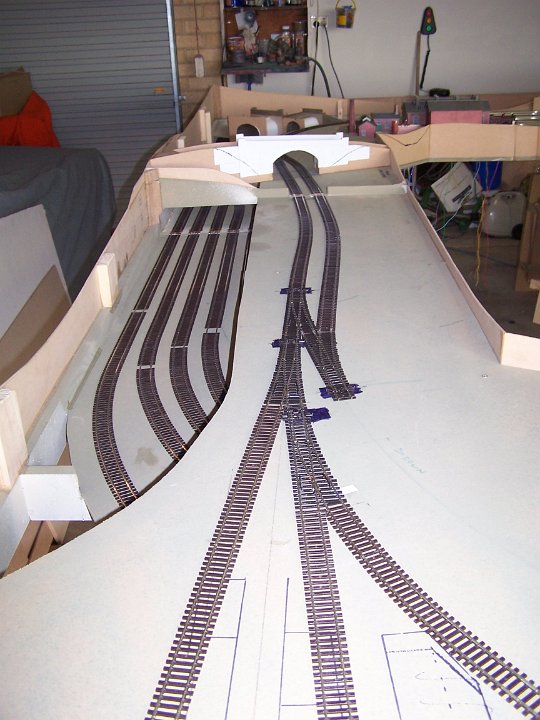
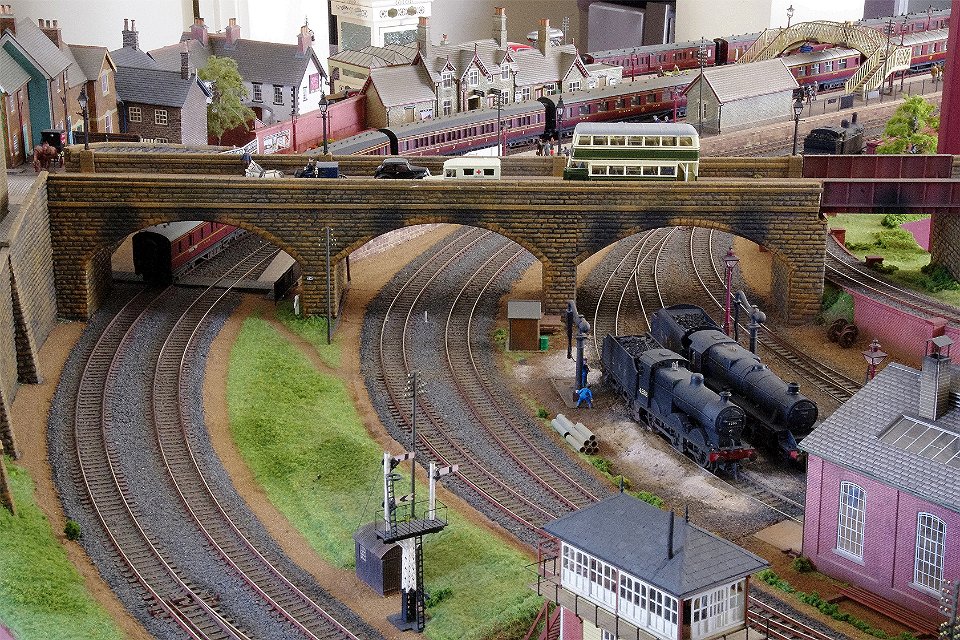
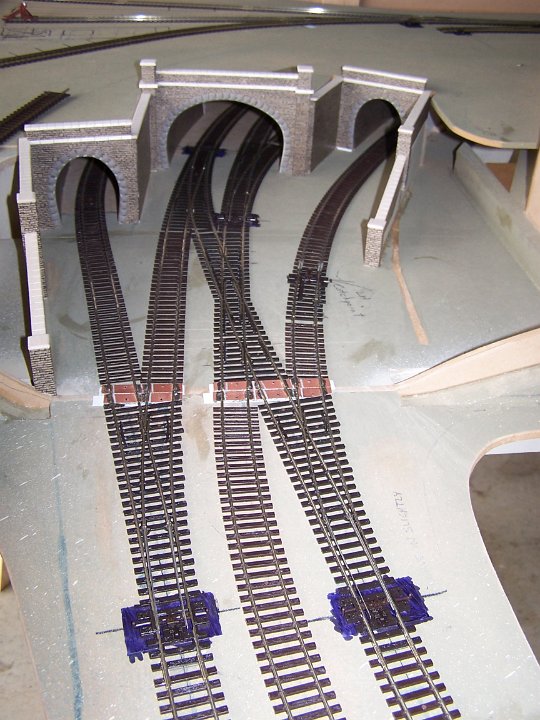 7 The track and tunnel entrances at the other end of the layout, with the balsa capping stones before painting. Though not obvious to the eye, the diamond crossing was bent in slightly, which allowed the curved points at the tunnel entrances to be aligned more smoothly into the curves that go off into the tunnel. |
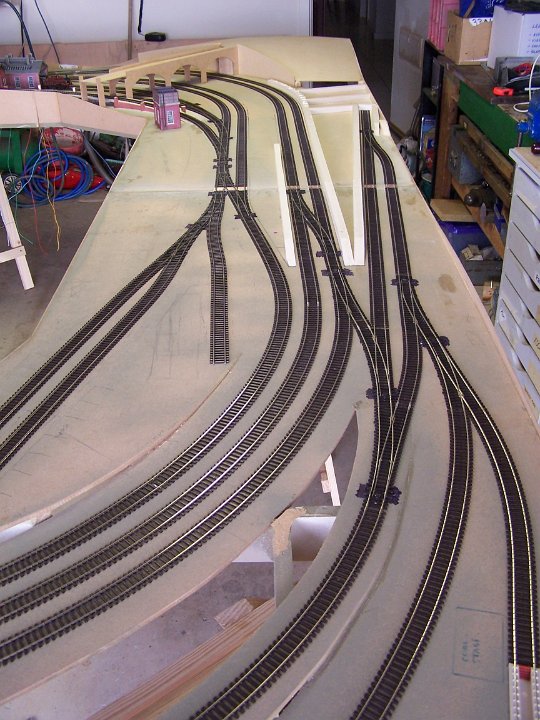
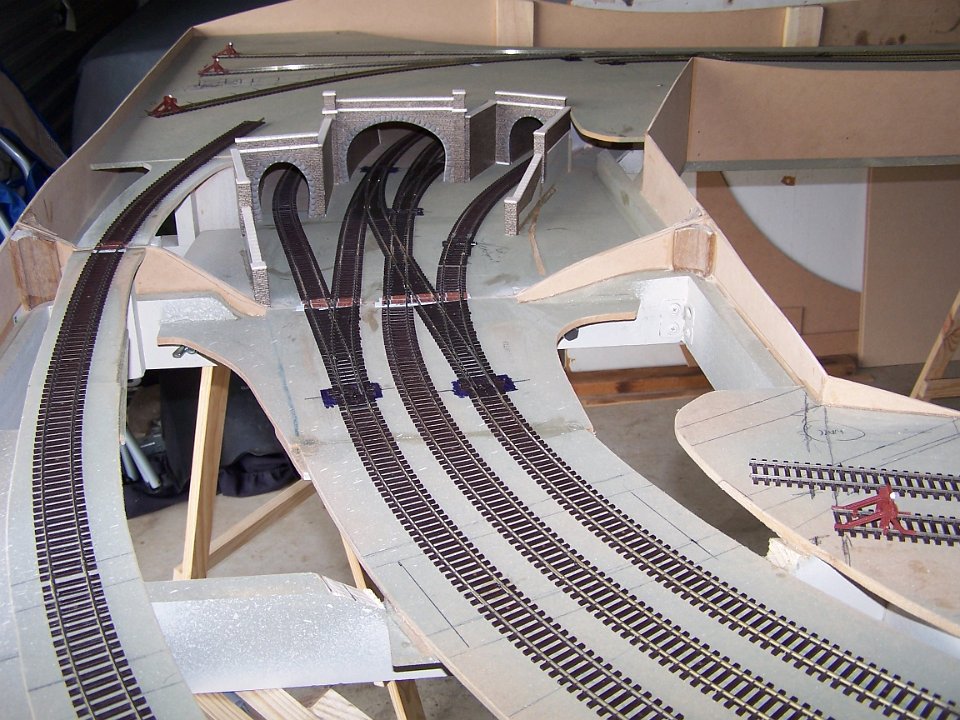 8 The branch up-grade to the left and the main lines down-grade into the tunnels. Note the open frames between the track beds. |
 9 All track laying completed through Wellingford Station. |
 10 Bakewell Bridge Station site to the right and the hidden mainline sidings to the left. |
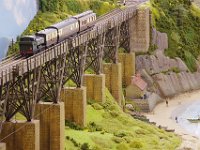
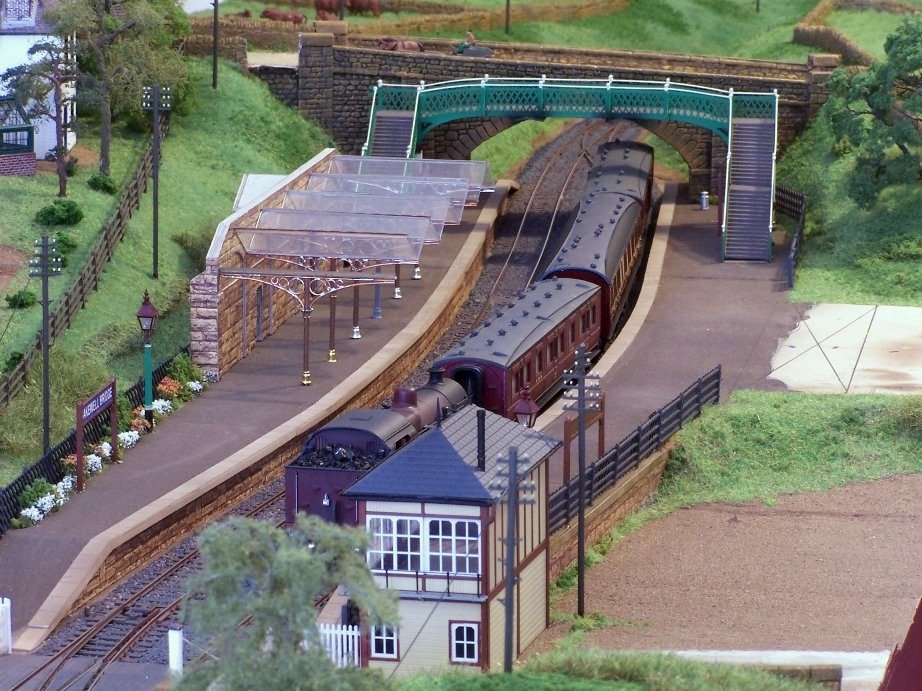
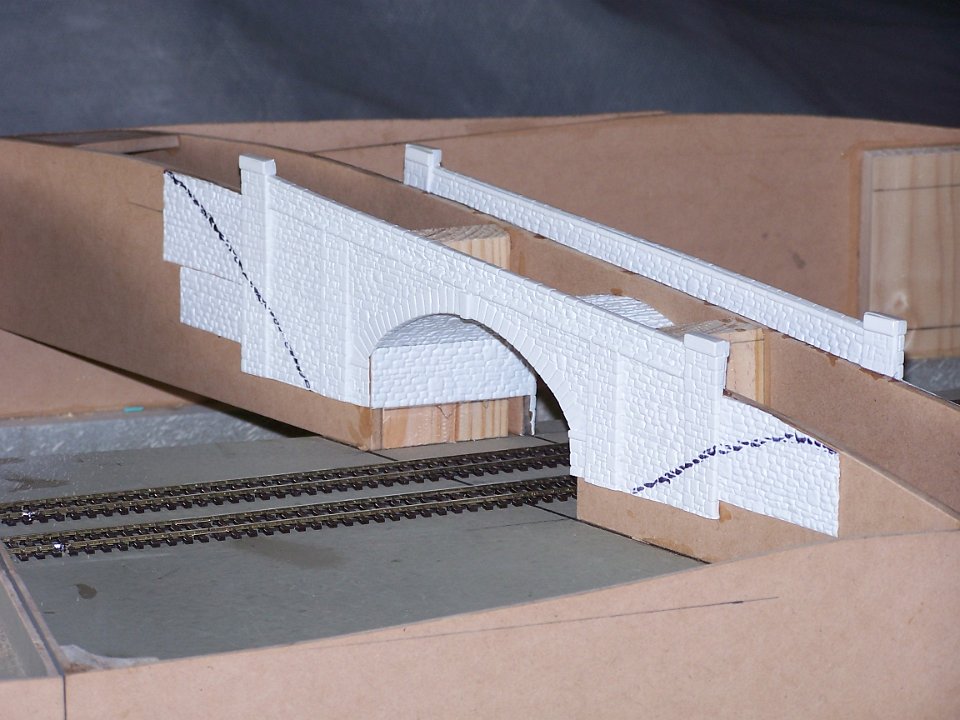 11 The stone arch bridge spanning Bakewell’s station platforms was an intricate affair, with the road set at an angle to the track and also on a gradient! Langley Models came to the rescue, with a vacuum-formed styrene stone profile kit that was exactly what was needed. Photo 8 shows the kit installed over 6mm MDF formers. The Texta marks on either side show where the lie of the land will be. |
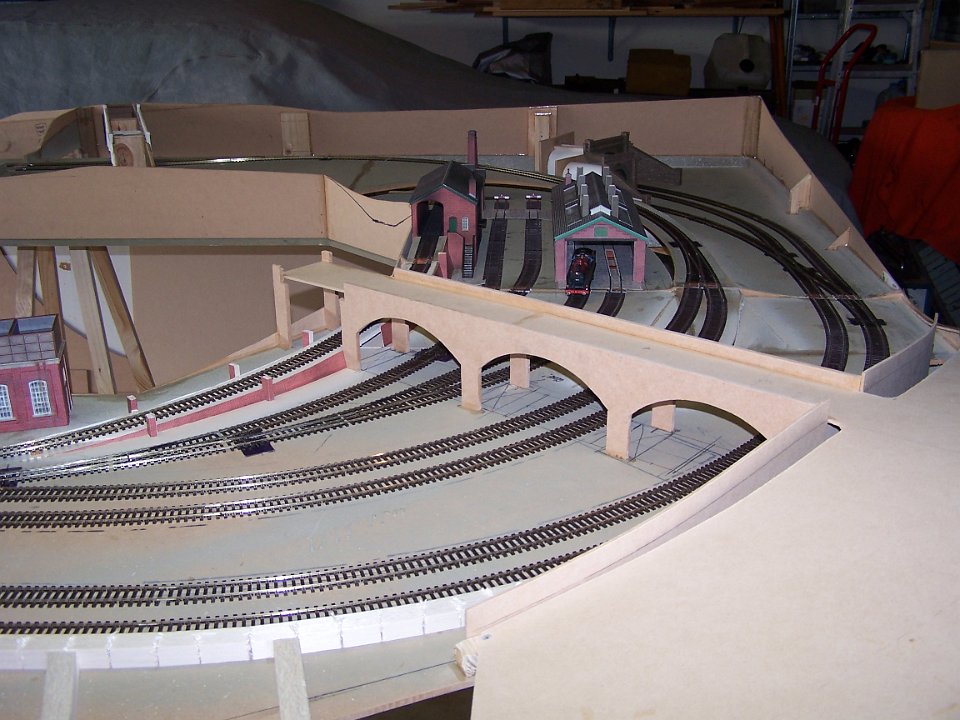 12 The bridge over the yard connecting with the town village area in the corner of the layout. |
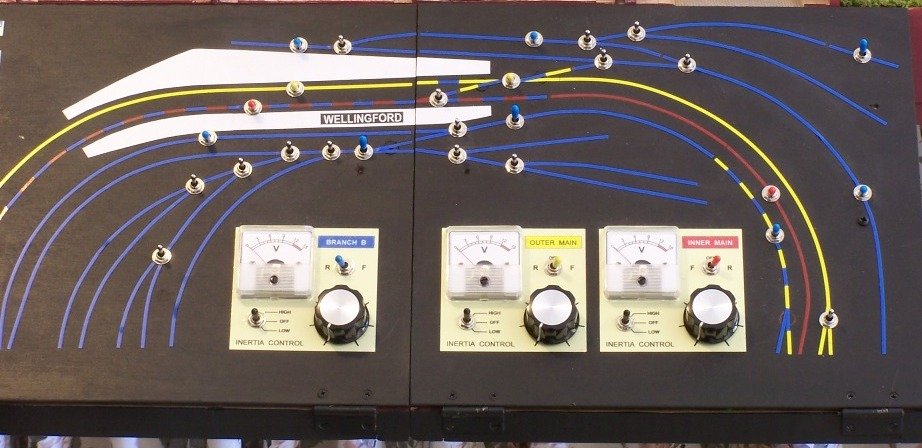 13 The Wellingford Panel. The outer, inner and branch lines are colour-coded, matched with the controllers. |
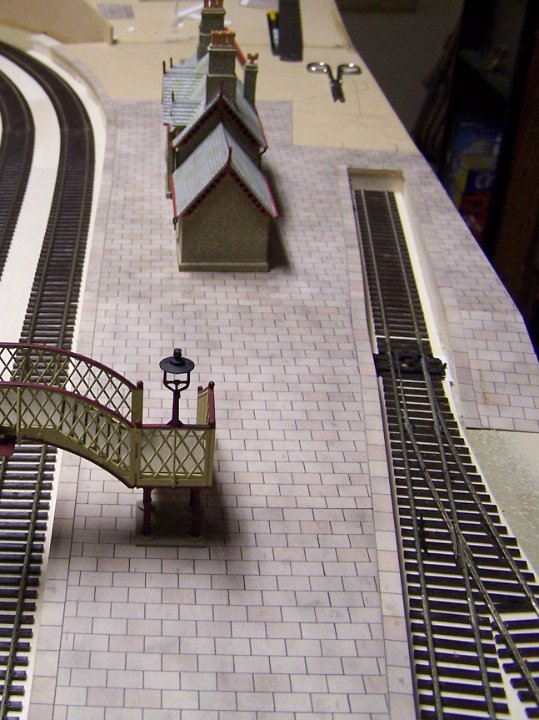 14 Platform faces were made from balsa wood square section and the platform tops were jigsawed out from 3mm MDF. On top, the paving stones were cut from Metcalfe M0055 Paving sheets, which are pre-weathered. The edge stones were glued down in strips first, defining the area where the mass paved areas could be cut from the sheets. |
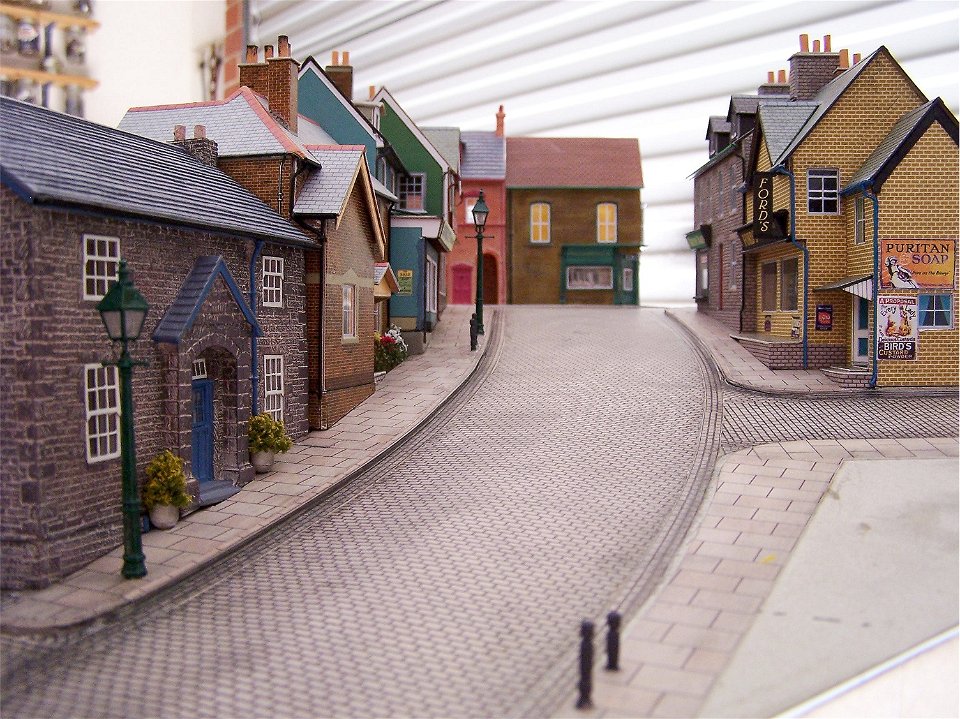 15 Metcalfe M0051 Cobblestone sheets provided the road surface. Roads are traditionally not flat for drainage purposes, so before gluing down the road surface, a narrow strip of balsa wood was glued down the centre. This gives the familiar cambered effect for water run-off. |
 16 A view over Wellingford, with other buildings starting to pop up, including the Goods Depot. The terraced housing along the rear of the yard was another curiosity which I admire in English towns. |
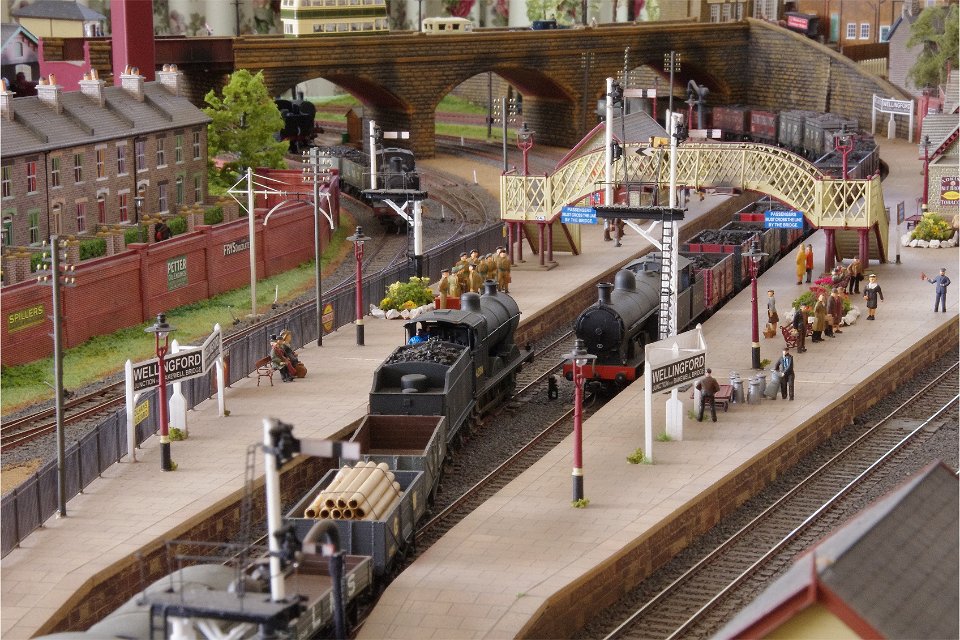 17 Complex train movement at Wellingford. |
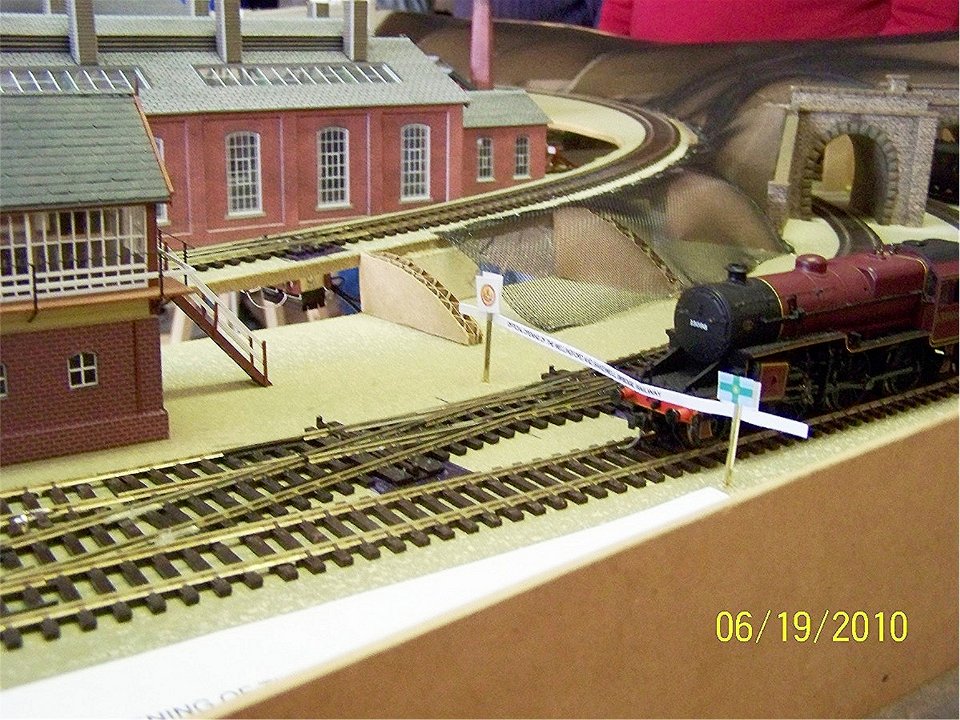 18 It was now June 2010 and time to have my first BRMA meeting at home, so a ‘cutting the ribbon” ceremony took place to officially commission the layout. |
 19 Bakewell Bridge in position, but the stepped connection between the left end of the bridge and the opening in the stonewall atop the road bridge is yet to be completed. Some greenery is now creeping in, with stonewalling added, connecting the stone bridge with rest of the scene. |
 20 The larger areas of green fields and cuttings still used the traditional flywire over cardboard formers method, but instead of using paper towels soaked in Plaster of Paris to cover the flywire, I used Chux Supa-Wipes, soaked in cornice cement instead. The cornice cement sets harder than plaster, and resists crumbling, due to the glues that are present in the compound plaster mix. Then covered with Polar Fleece material and painted. etc,. |
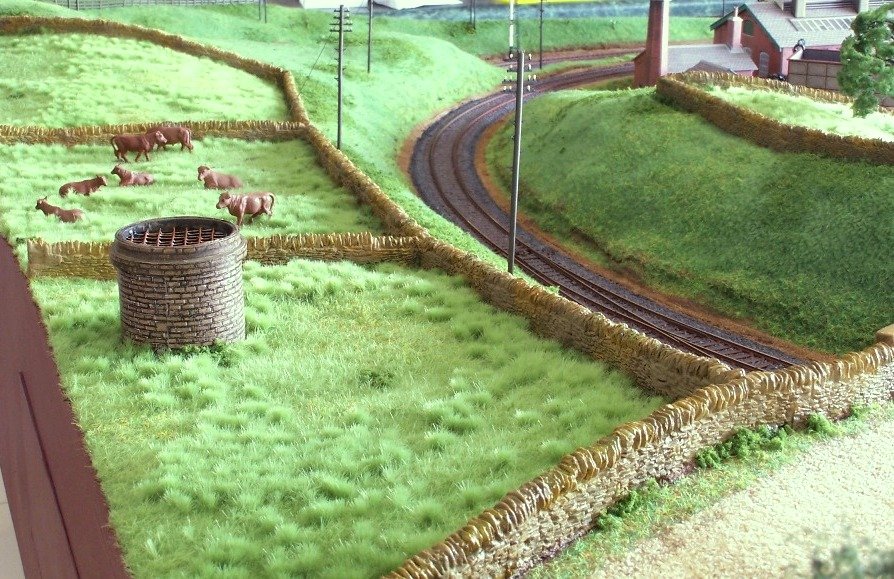 21 The stone walls create that rural atmosphere. The areas outside the stonewalls are laid with the fleece, but the grassed areas within the boundaries of the walls are a MiniNatur product made in Germany. |
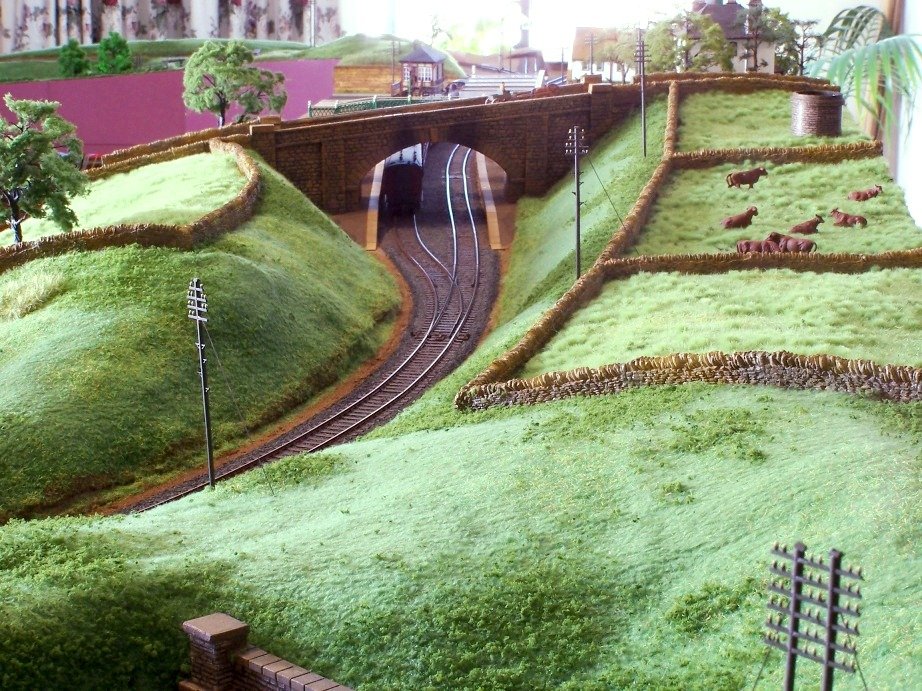
 22 The general area around Bakewell Bridge. |
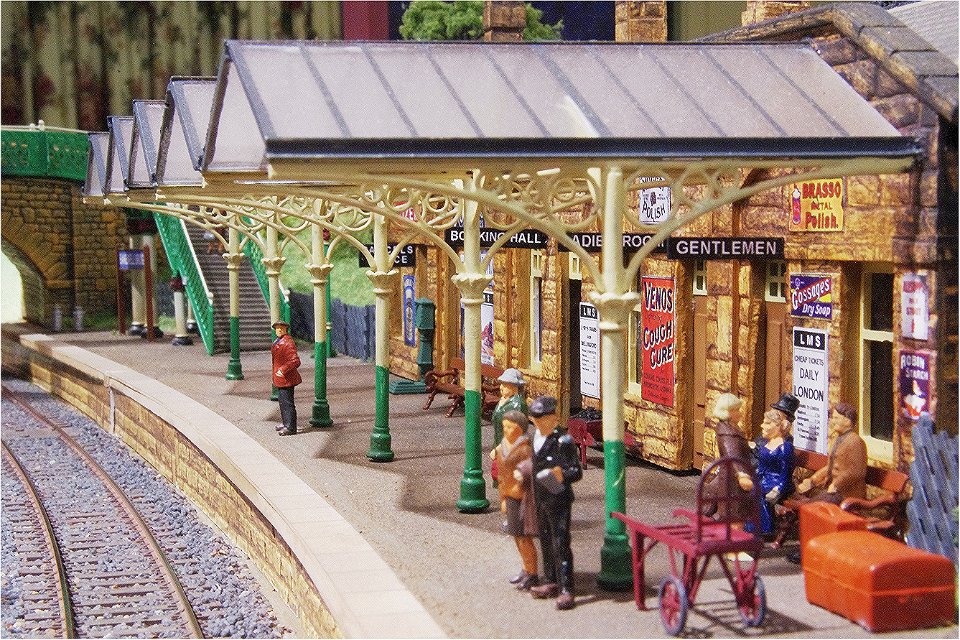 23 For the construction of the cast iron posts and brackets on the buildings, I bent and assembled each post/bracket assembly, using copper wire on a jig to ensure each would look the same as the next. The posts were then assembled; with the cast iron elements simulated using bead makers’ items. |
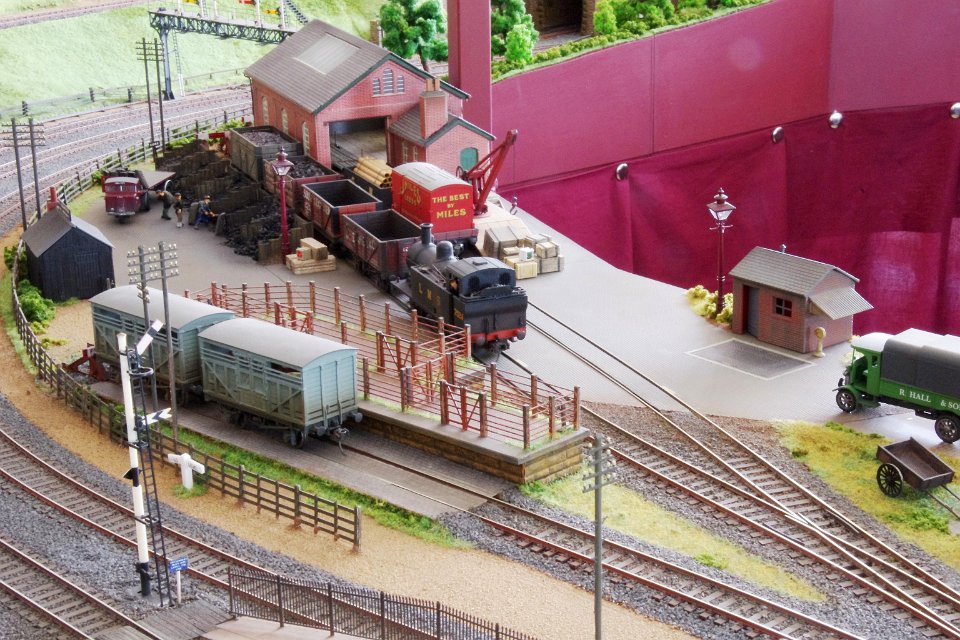
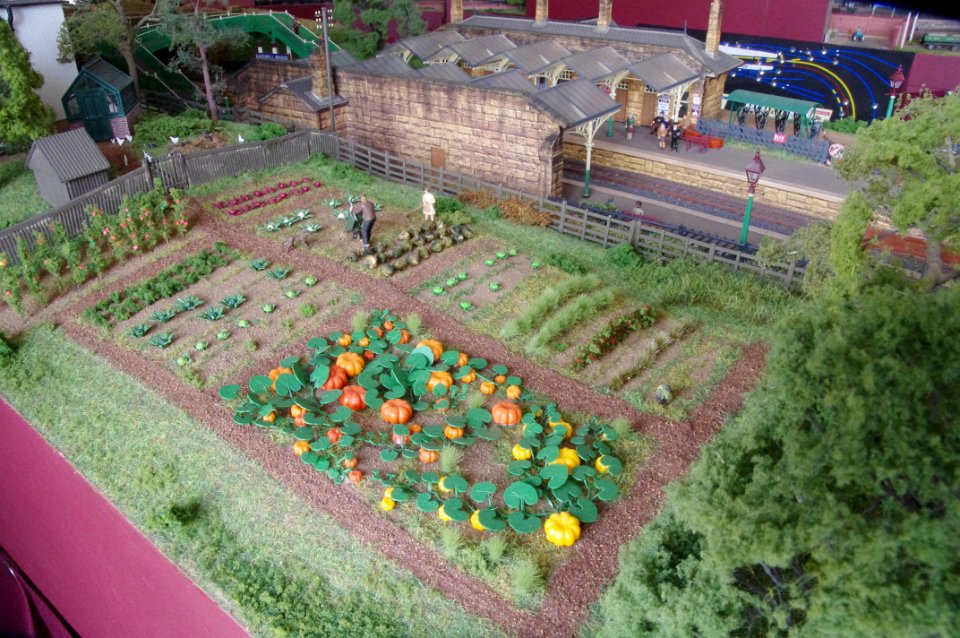 24 The Stationmaster’s garden, with attention given to a cameo scene that attracts much attention at exhibitions. |
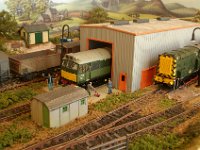
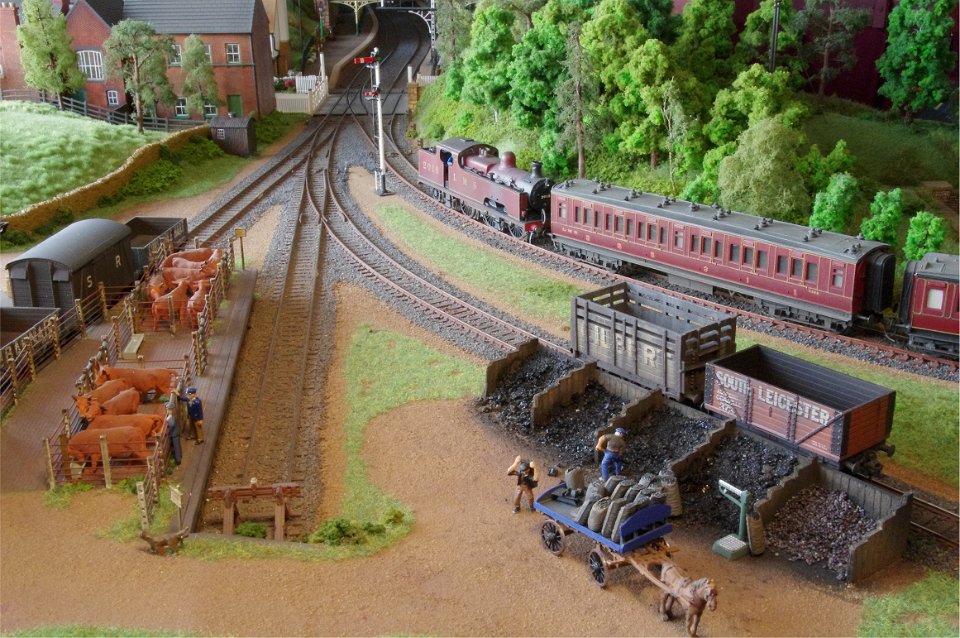 25 The Yard at Bakewell Bridge, being a simple track layout, demanded some extra attention scenically. With coal merchants busy loading coal sacks, cattle being tended in the dock, and some unloading activity at the Goods Shed, the area presents plenty to gaze your eye over. |
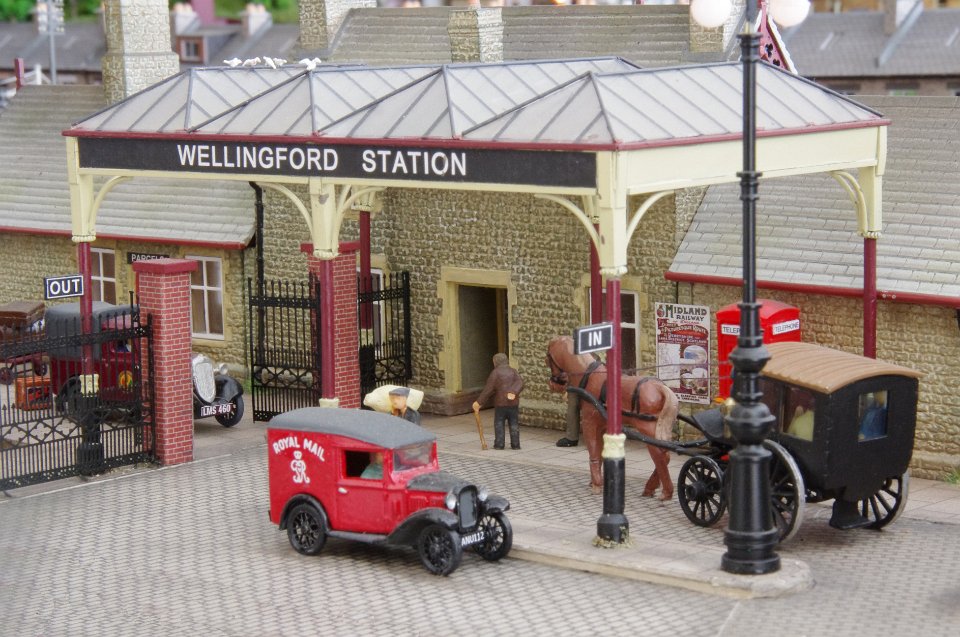
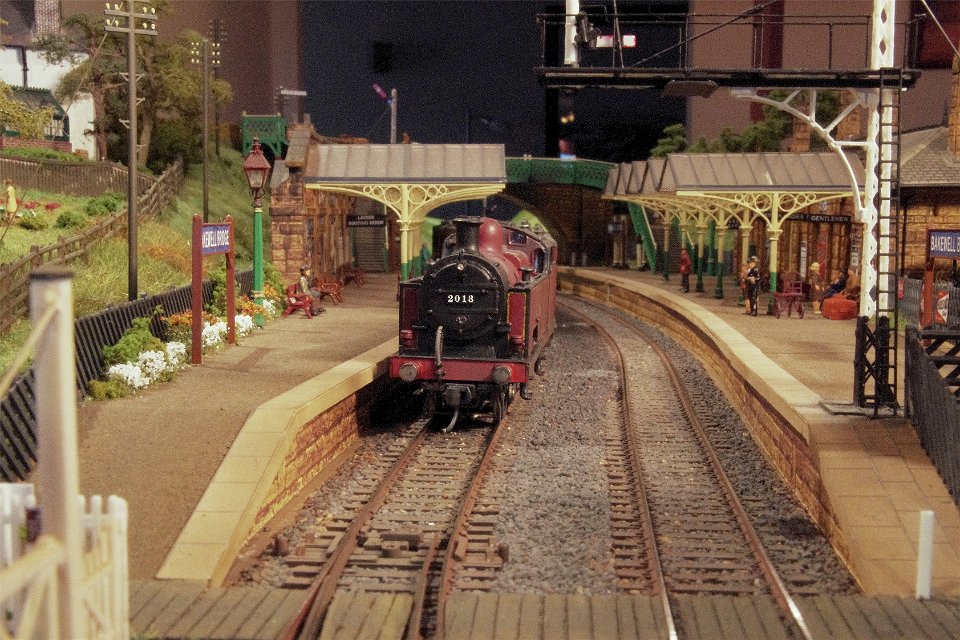
 26 Another inspirational piece of architecture I found was that of the glass awnings attached to the entrances of some station buildings. |
 27 Wellingford Station Entrance featuring the glass canopy. |
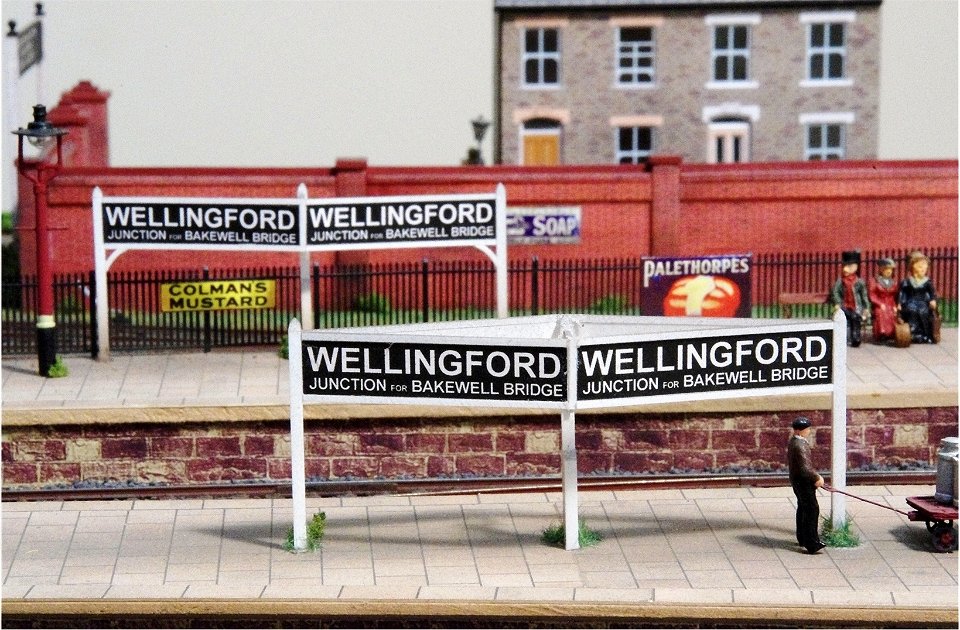 28 Wellingford’s platform name boards were constructed in the unique Midland style entirely from styrene. The lettering was arranged on the computer and printed out, giving a pleasing result, specially worded for the layout. |
 29 The Wellingford Goods Depot. The Goods Shed is a Metcalfe Models Card kit (PO232), sitting right next to the coal staithes. |
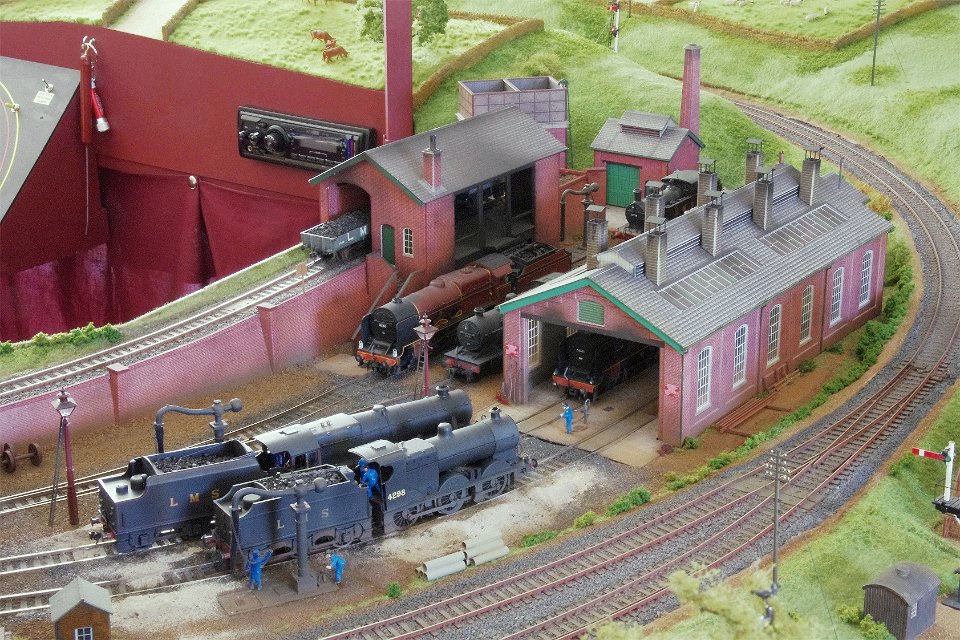 30 The Wellingford shed was entirely fitted out with Metcalfe Models card kits: the Engine Shed and Workshop (PO213), the Midland-styled Coal Stage (PO222) and the Water Tower & Sand House (PO227). Water columns are Midland-style Mike’s Models, part number MM4, only available from Holt’s Model Railways in the UK. Most of these I had to modify, as the heights of the columns were modified higher when the larger LMS types of engines came into service. |
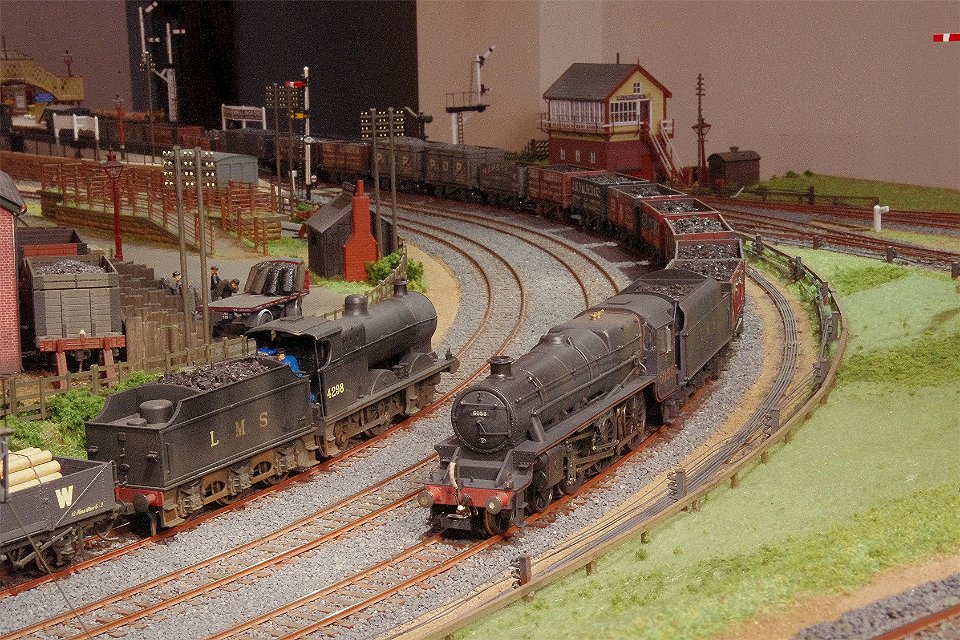
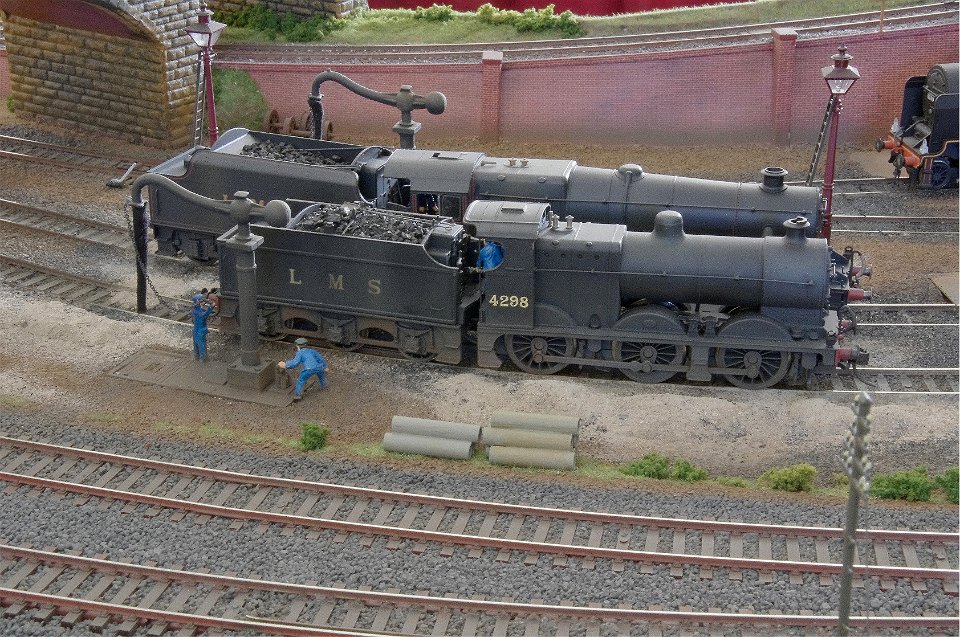 31 Locomotives "on shed"... |
 32 Mainline and engine shed roads at Wellingford. |
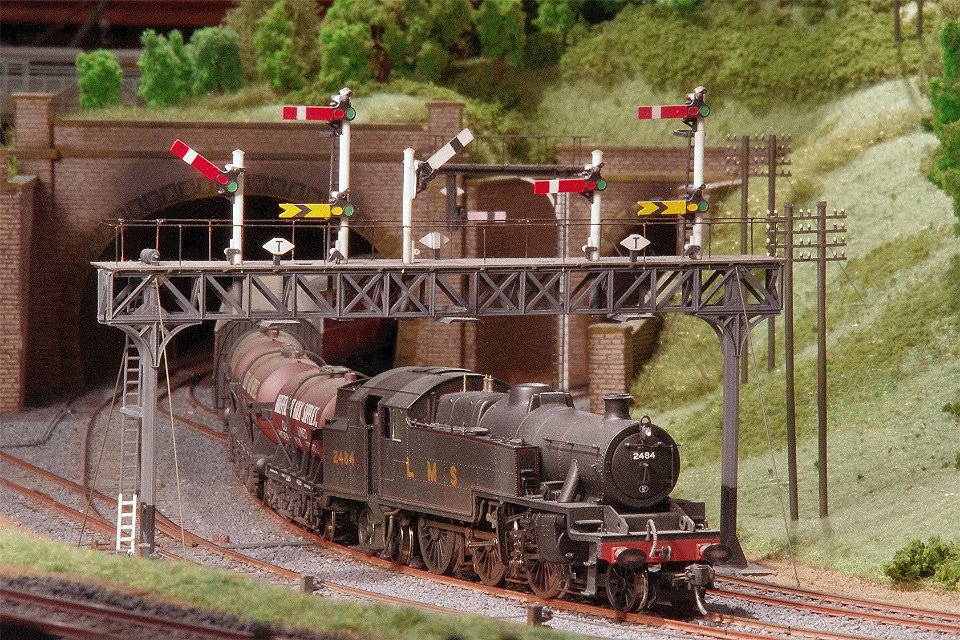 33 One of my favourite pieces of railway equipment is the large variety of types of signals on a railway. I used a mixture of LMS 476, 478, 470 and LNER 486 Ratio signal kits. The LNER kits have the lattice masts, which are useful for the tall bracket signals. A combination of all the kits was needed to construct the many differing types, along with some parts that needed to be scratchbuilt to get the right LMS-style brackets not supplied in the kits. |
 34 As the layout is primarily an exhibition style of layout, and there are no back scenes, the operators as well as the public get to see most of the detailed scenery and the use of the control panels. Two operators are required to keep the trains moving. The mainline operator looks after the inner and outer main lines and has to change trains in the hidden sidings under Bakewell Bridge. The branch line operator has charge of the entire branch from the bay road in Wellingford, through Bakewell Bridge and down into the Wellingford Goods Yard, including the Engine Depot. |
 35 LMS loco 1038 on a mixed traffic train departing Wellingford. |
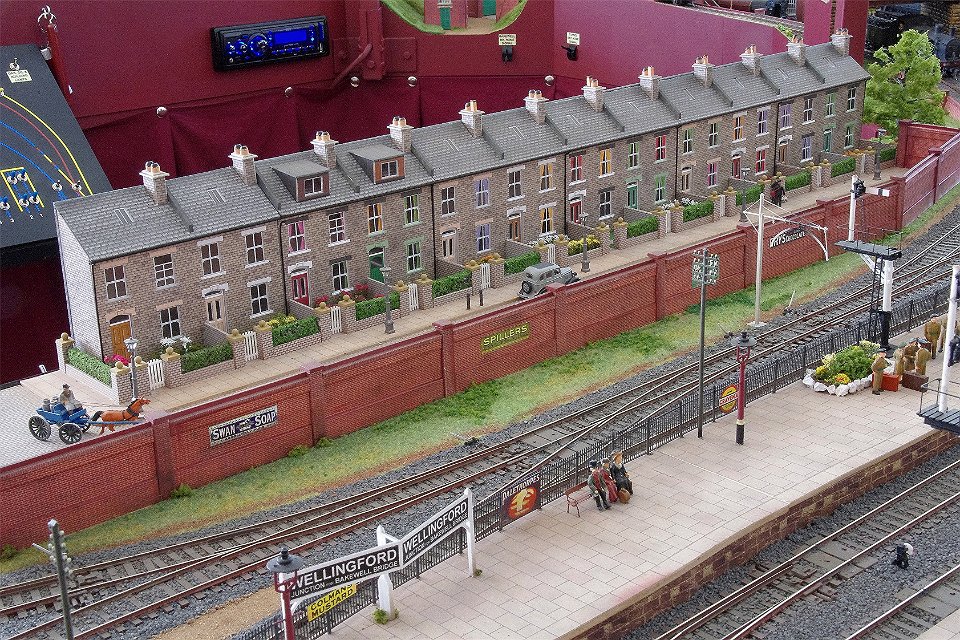 36 Low relief houses at Wellingford. |
 37 Coal train at Wellingford. |
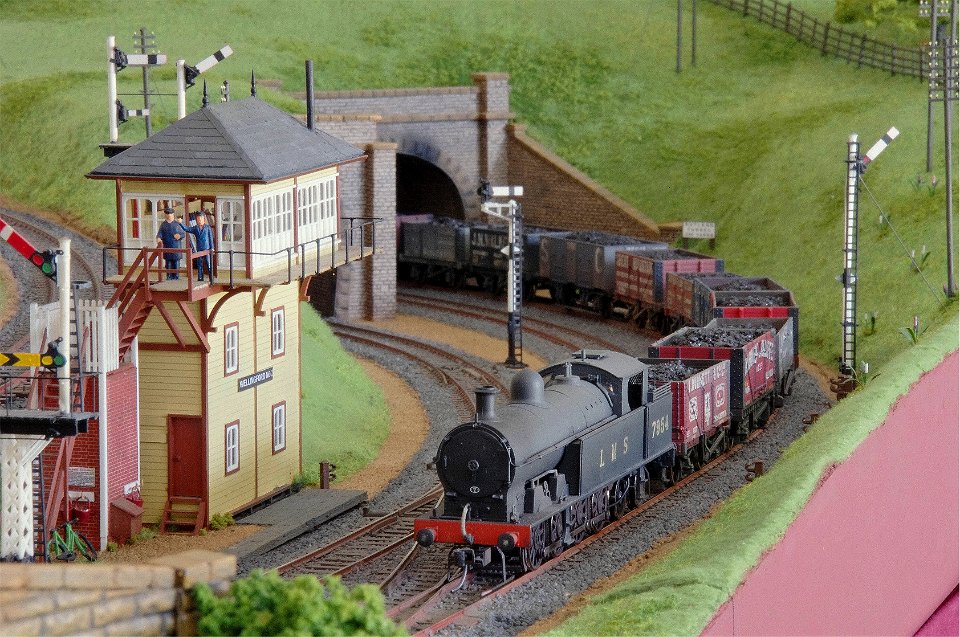 38 Coal train passing Wellingford 'box'. |
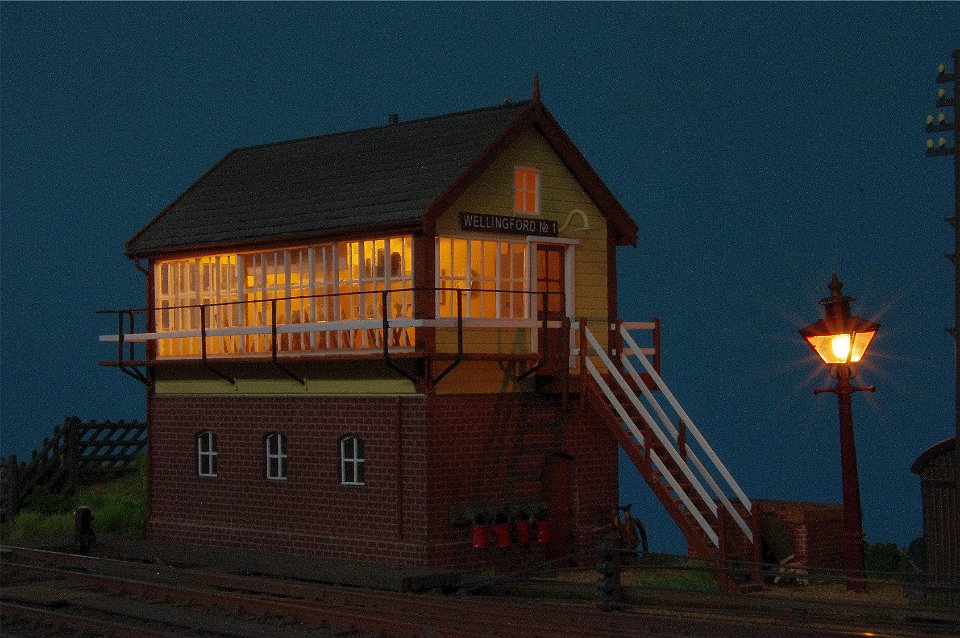 39 Wellingford Signal Box No. 1 at night. |
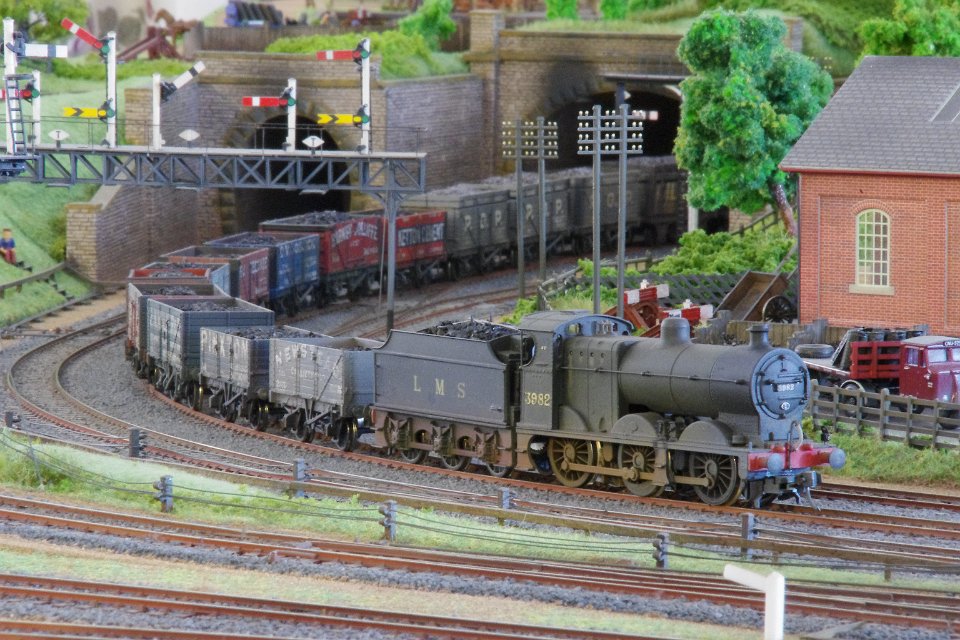 40 Coal train exiting the tunnels. |
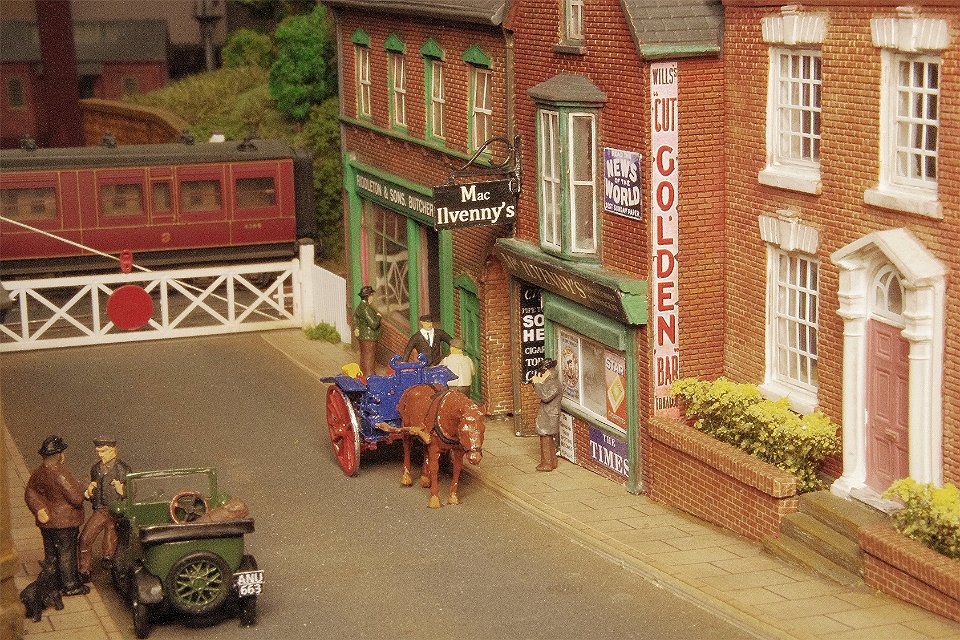 41 At the Level Crossing at Bakewell Bridge. |
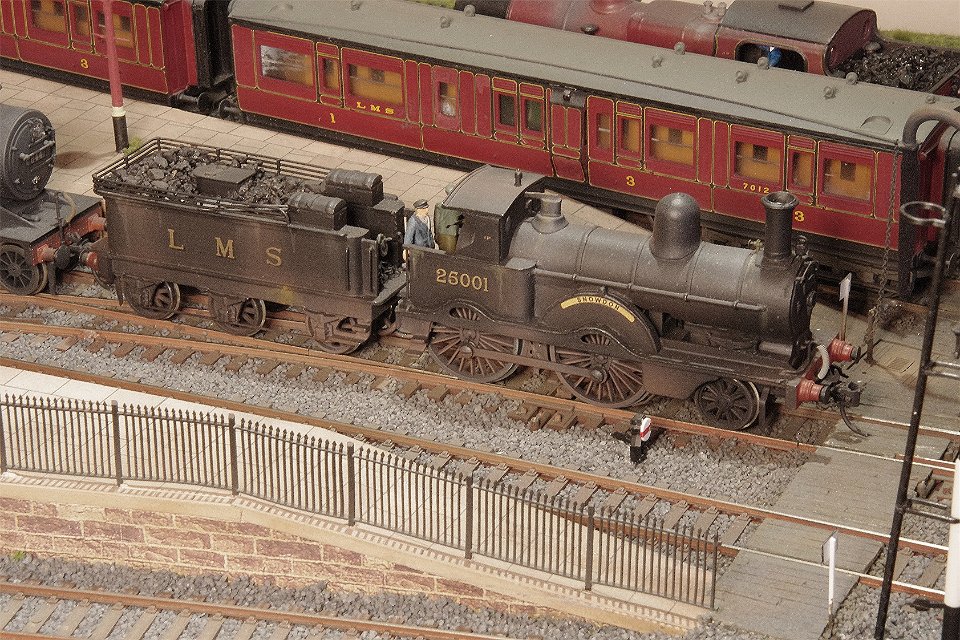 42 LMS loco 25001 "Snowdon". |
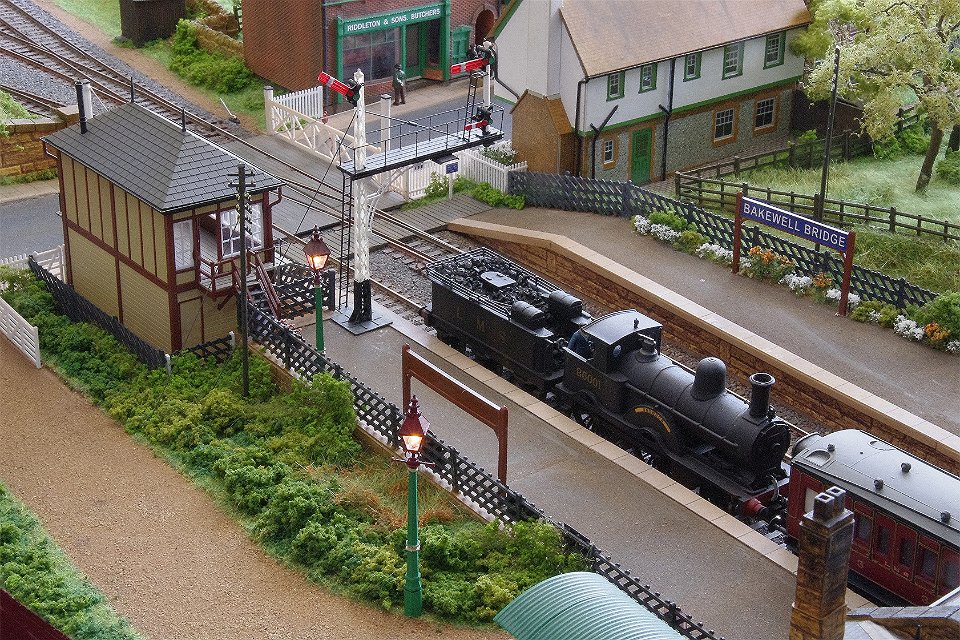 43 ...at Bakewell Bridge. |
 44 Bakewell Bridge... |