Copyright (C) 2016-2018 British Railway Modellers of Australia Inc.
 1 Looking into the terminus at Uley Junction (based on Bodmin General in Cornwall). |
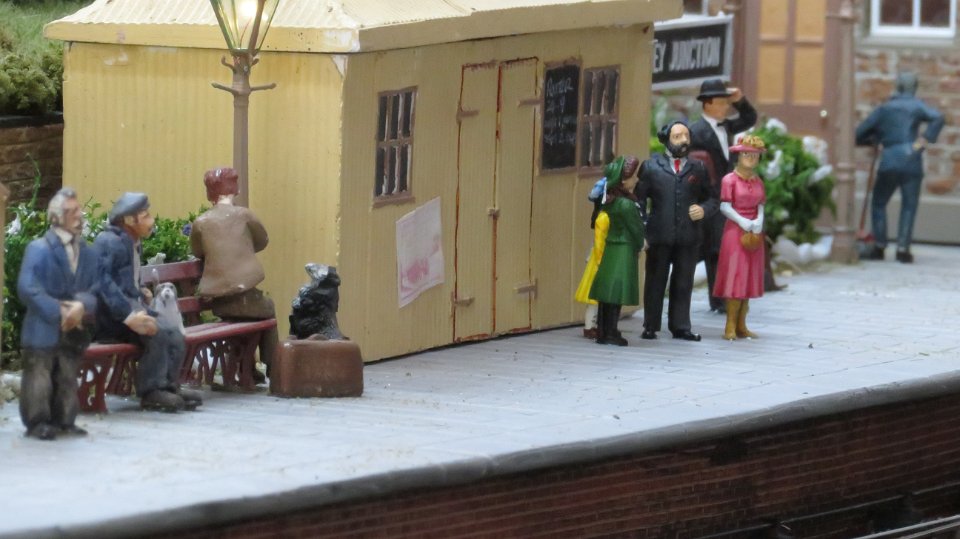
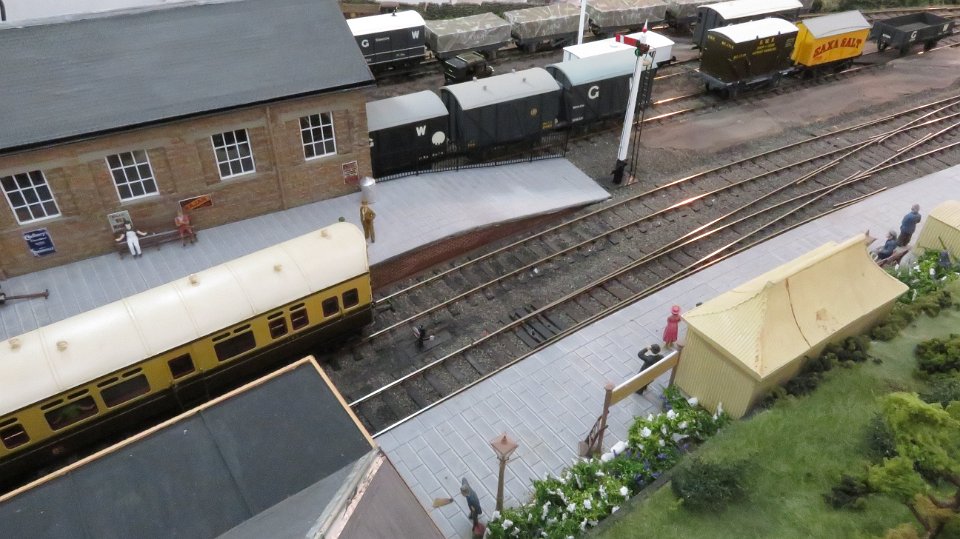
 2 Showing a little more detail of the station. |
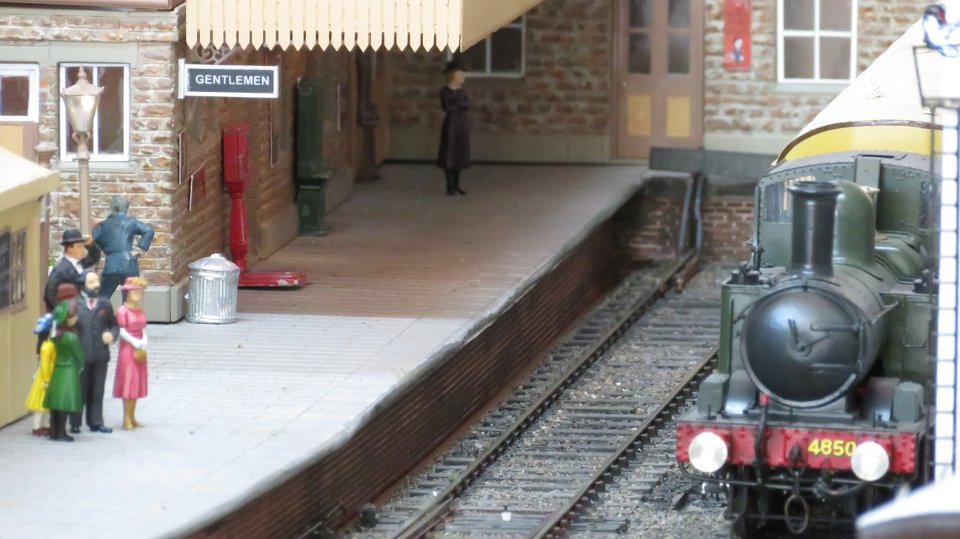 3 And some of the passengers patiently awaiting their train. A number of figures have been hand painted by a son-in-law who paints figures for war gaming. |
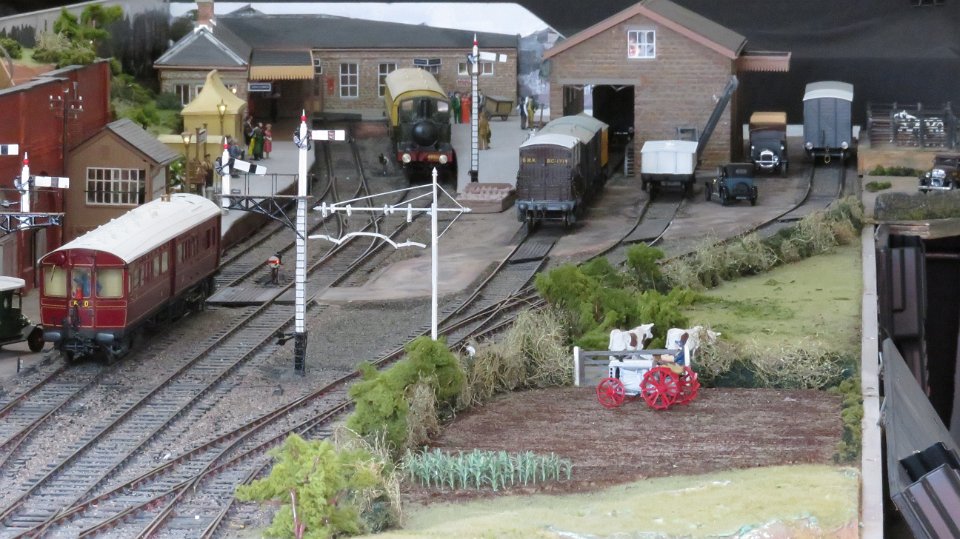
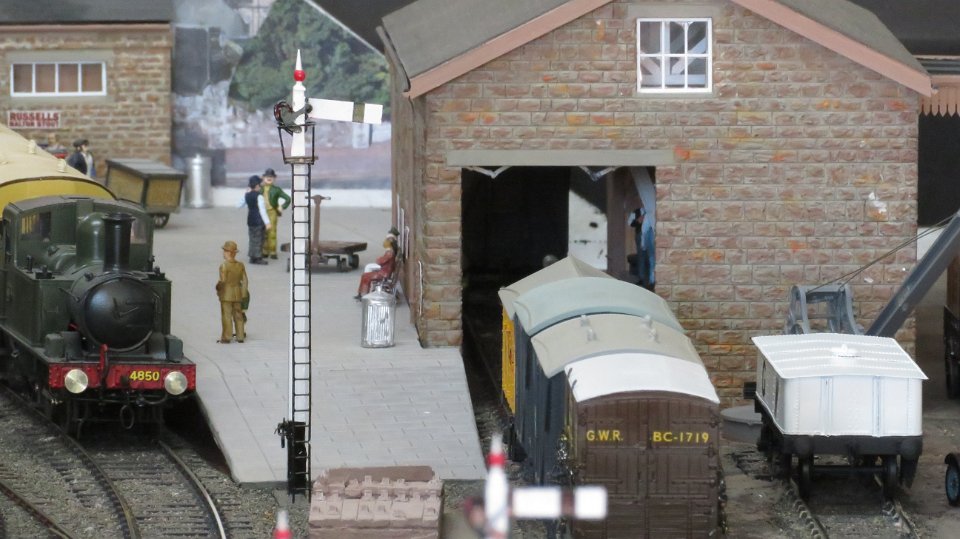
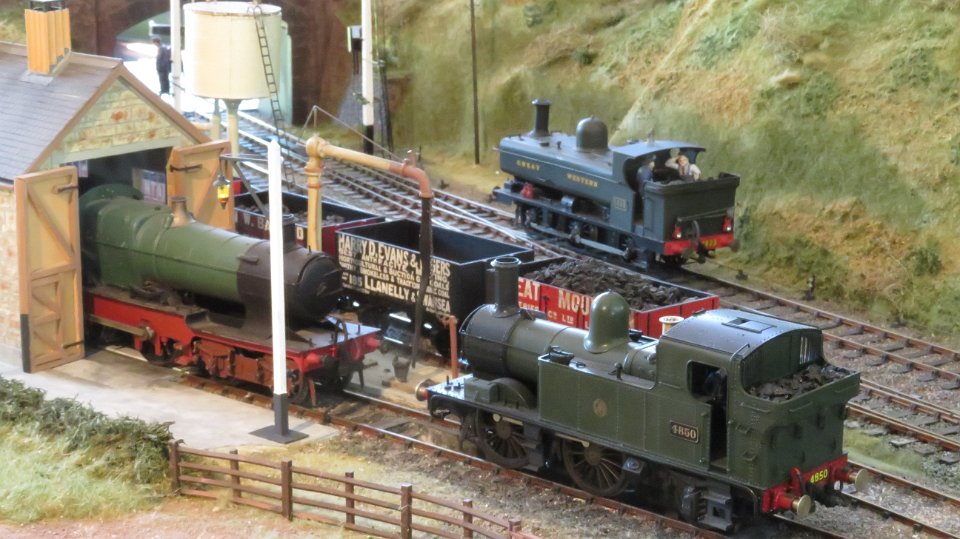
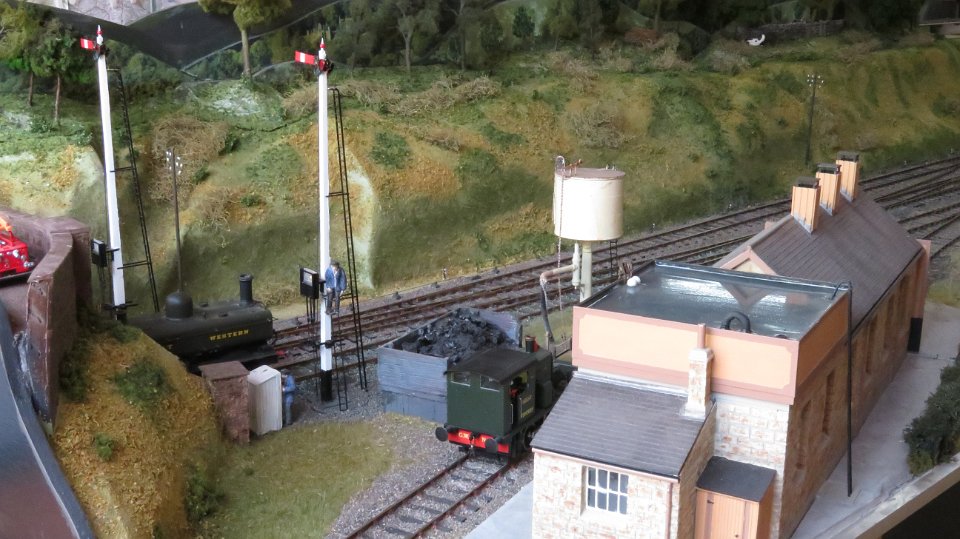 4 The Engine Shed and approach signals. The signals are tall signals that can be viewed by crews on approaching trains from the far side of the road bridge. The signals also indicate routing for the engine driver to the final destination - the main platform, bay platform or goods siding. |
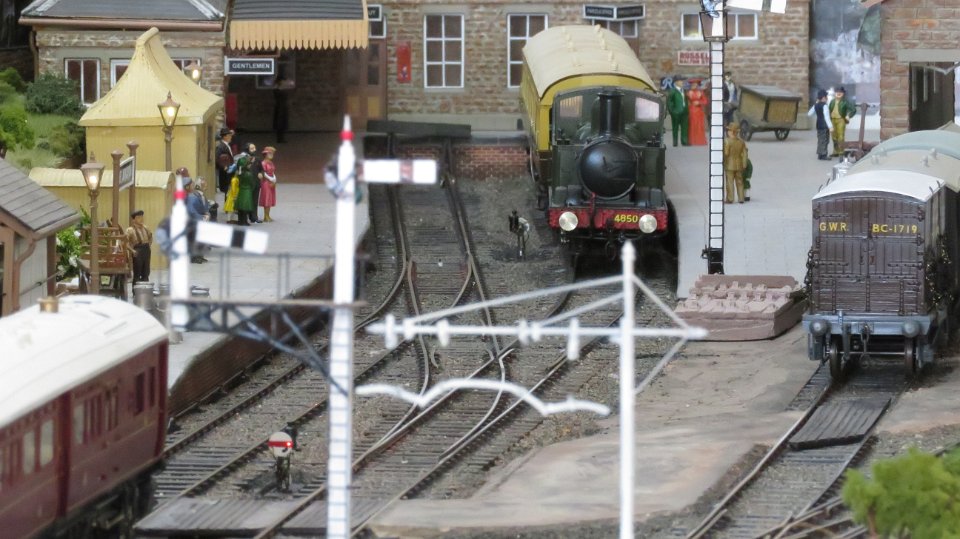
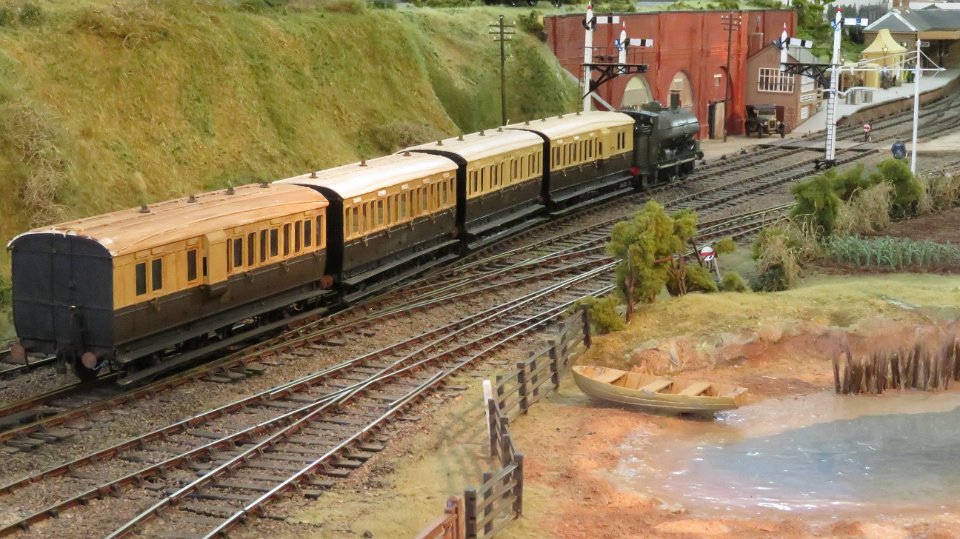
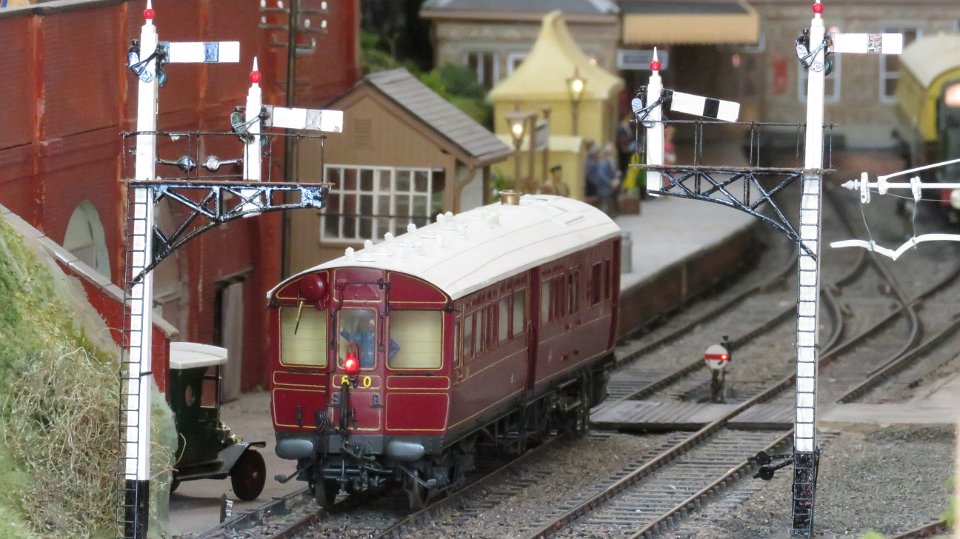 5 A steam railmotor approaches Uley Junction |
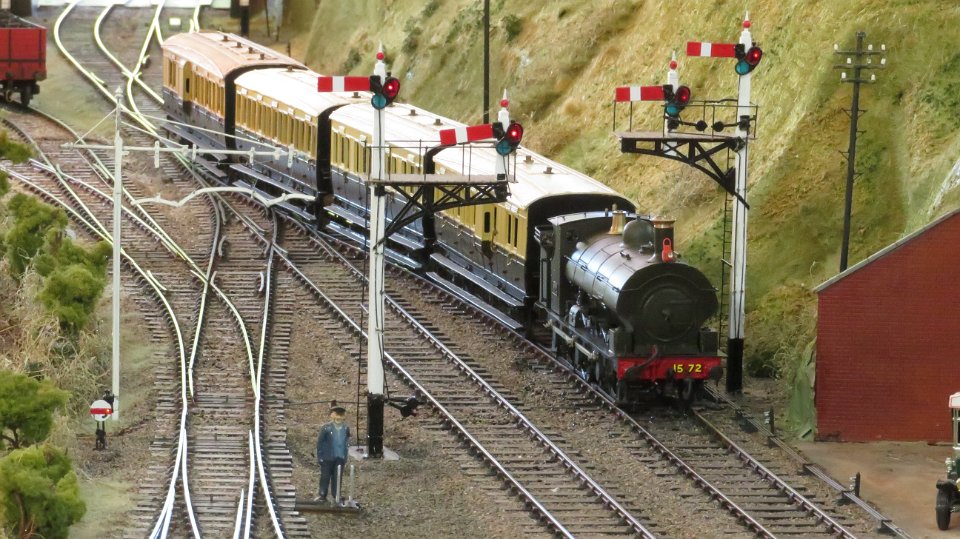
 6 In this view the steam railmotor has just passed the Start Signals for outgoing services. |
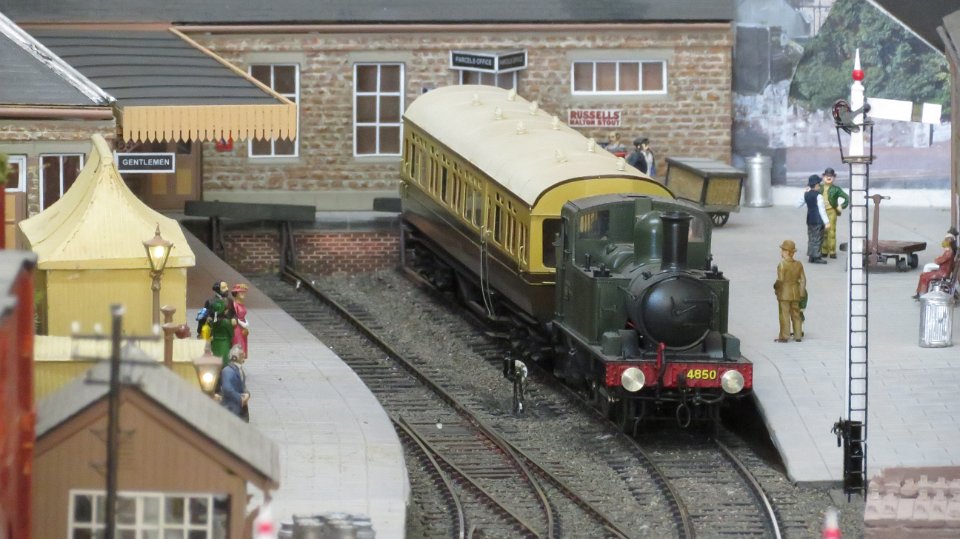 7 The push-pull service awaits the "Off" from the bay platform |
 8 Looking into the depths of the Goods Shed |
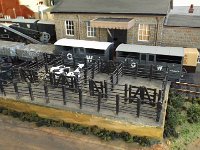
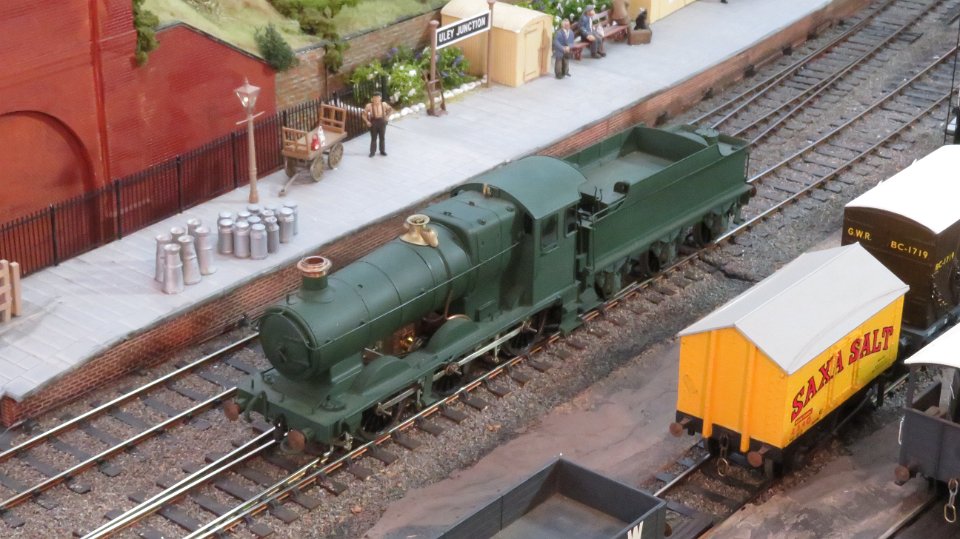
 9 Looking across the goods yard to the main platform. |
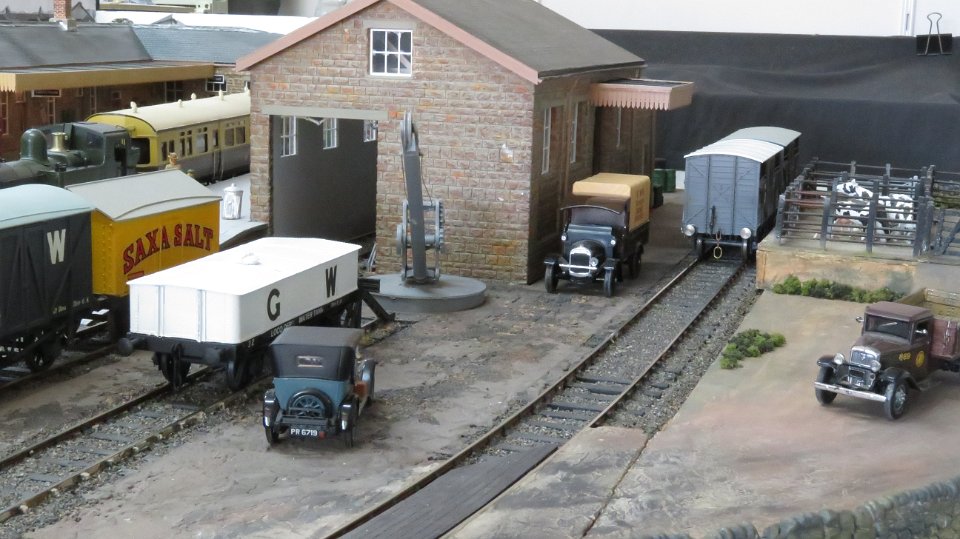 10 ... and down to the loading dock and cattle pens. |
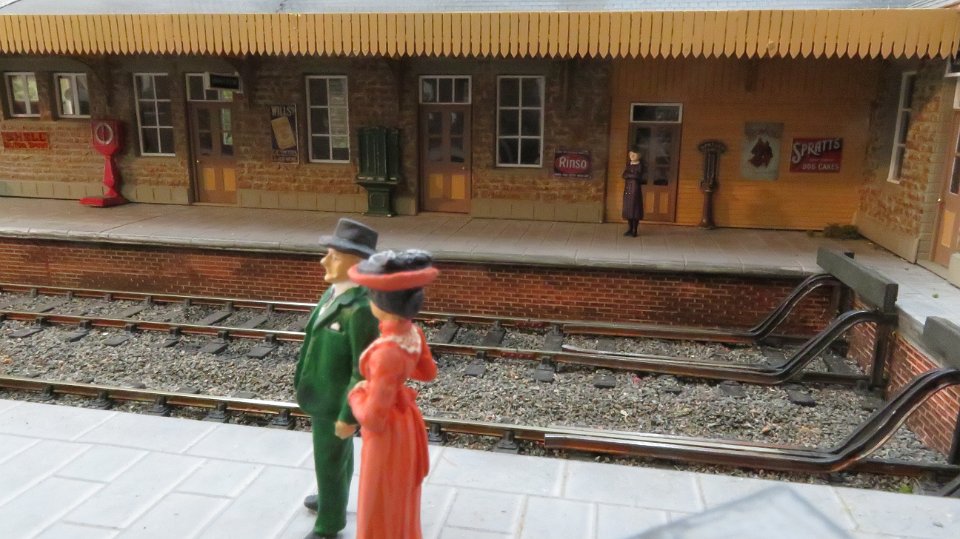
 11 A less busy view to the main platform |
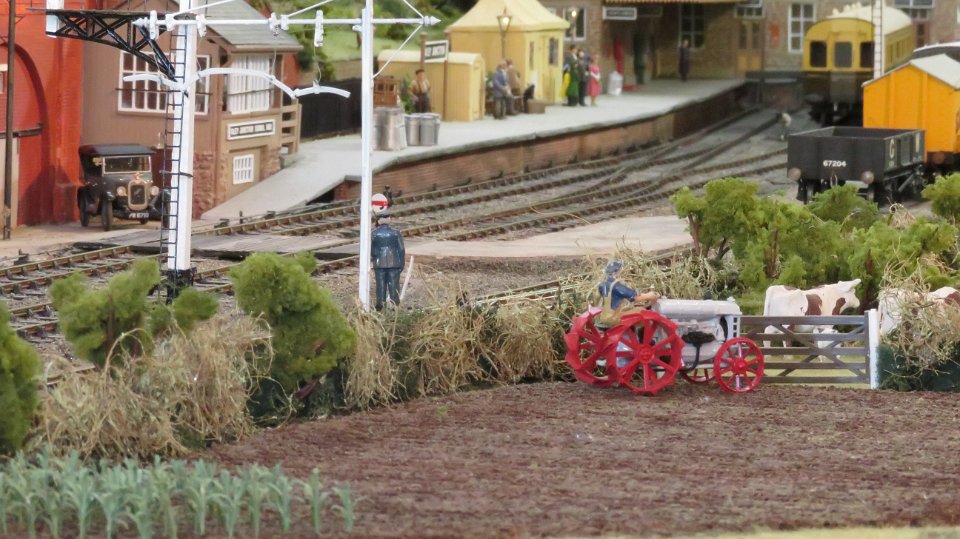 12 Still looking into Uley Junction but a little more distanced. The farmer has been working his fields... |
 13 ... and focusing on some of the 'people'... |
 14 The era being represented mixes both Edwardian and 1930's dress styles. Rolling stock covers both these periods. |
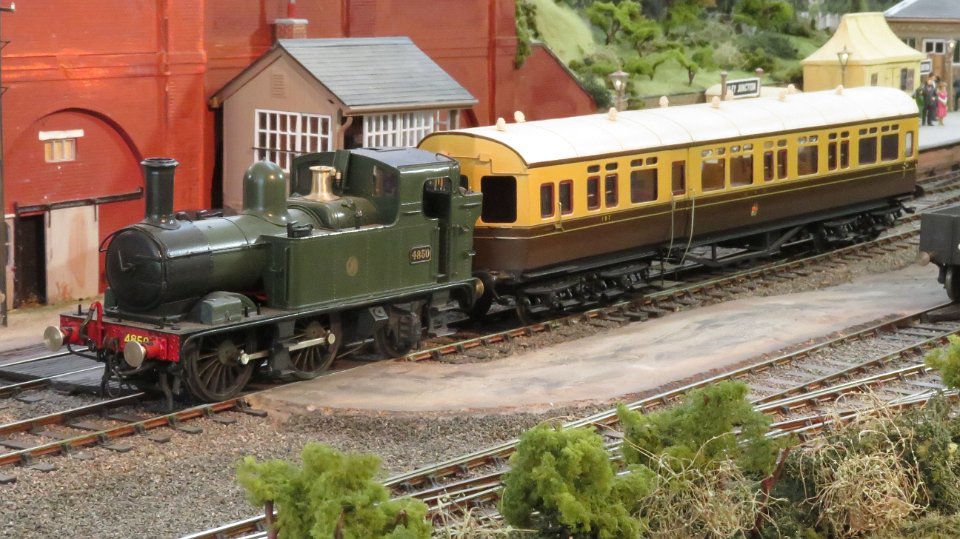
 15 The engine shed staff are busy whilst a Pannier Tank moves 'light engine' on the branch line towards Boscarne Junction (and the LSWR). |
 16 The steam railmotor is ready for departure and the push-pull coach awaits its loco. |
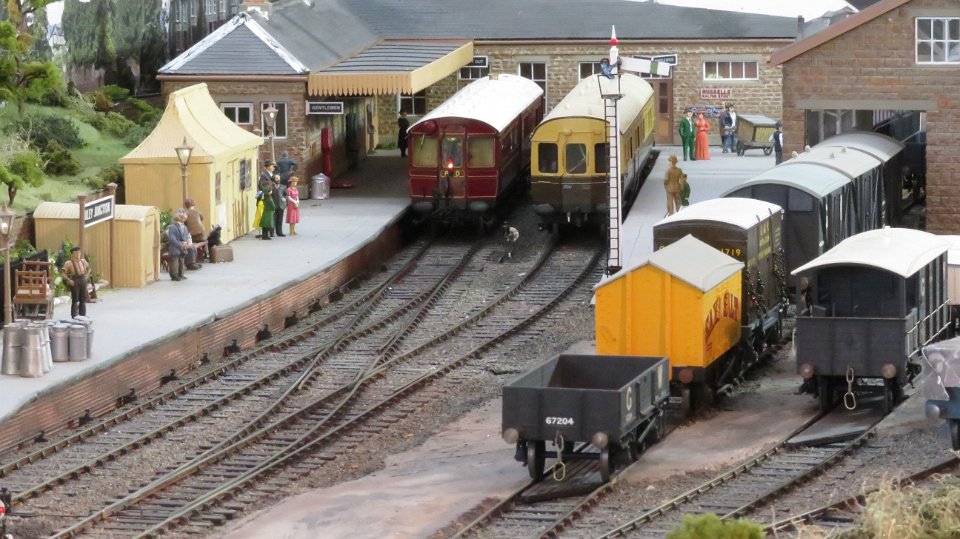
 17 An overhead shot looking down on the Uley Junction platforms. |
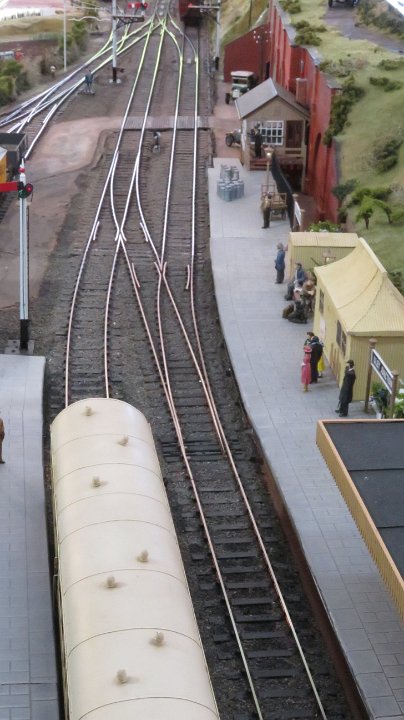 18 ... and looking down the lines where the left branch line is to Uley Road (Bodmin Road). The right hand track is to Boscarne Junction. |
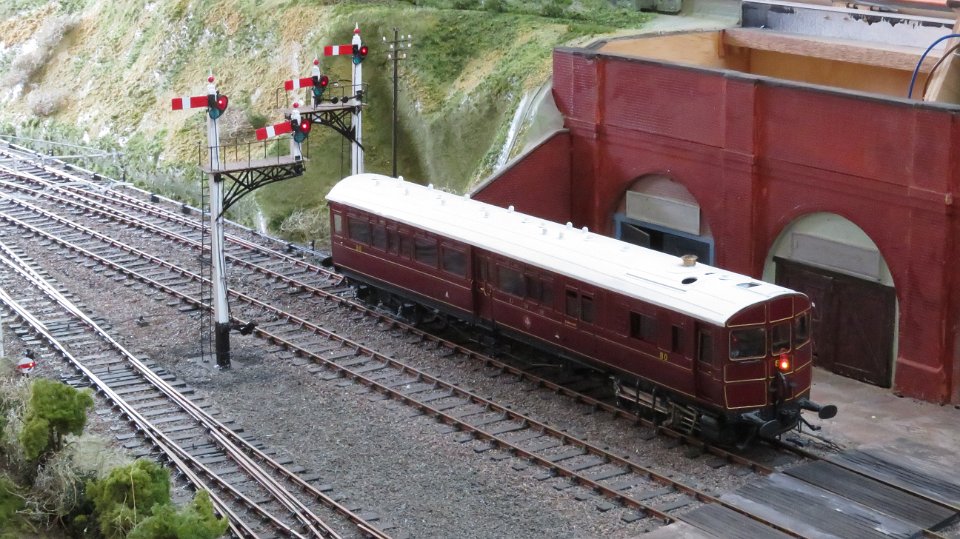
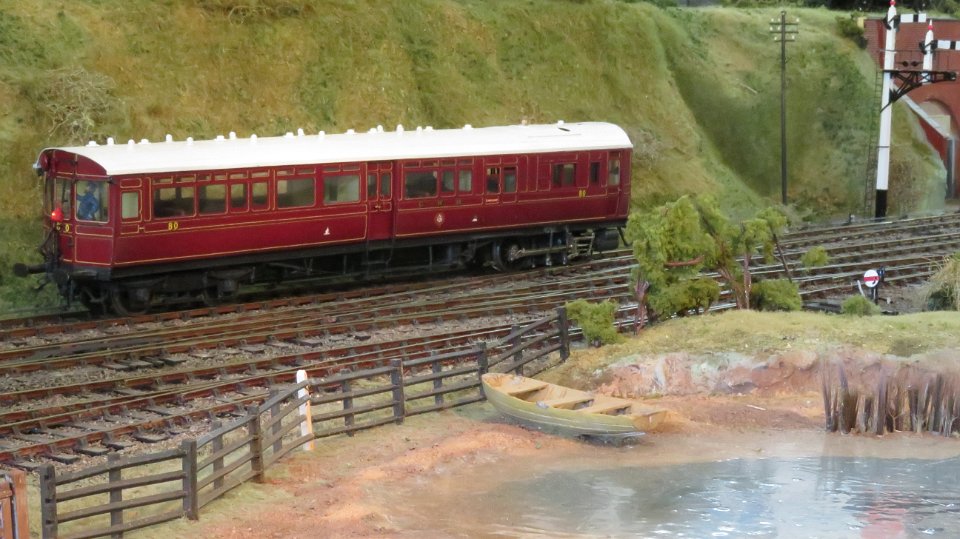 19 The steam railmotor has moved off as viewed across the creek. (Modellers licence: there is no creek at Bodmin General!) |
 20 The push-pull service has departed... |
 21 ... and a rake of 4-wheel early era coaches is arriving from Uley Road and crossing over to the main platform. |
 22 ... and viewed form Uley Junction. |
 23 Collett Goods 2257. |
 24 View of the bay platform. |
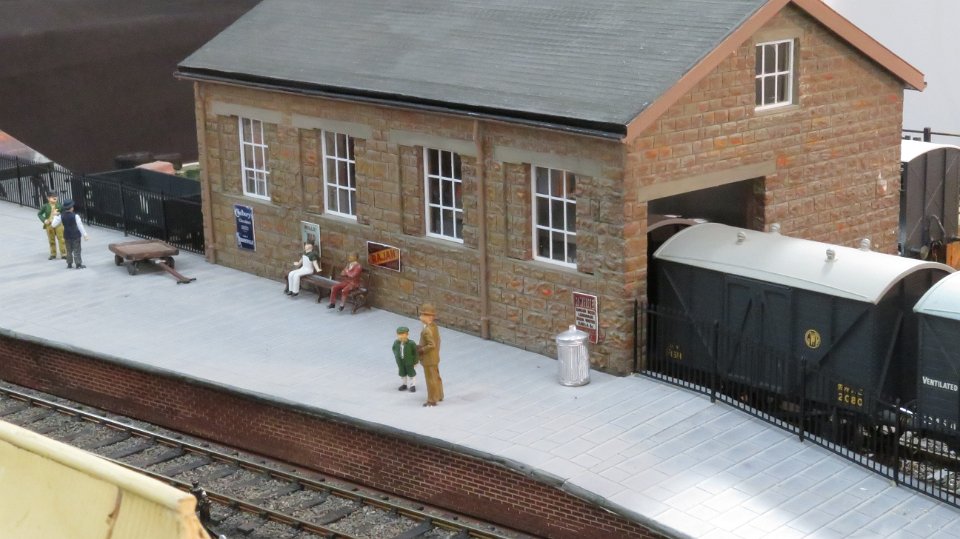
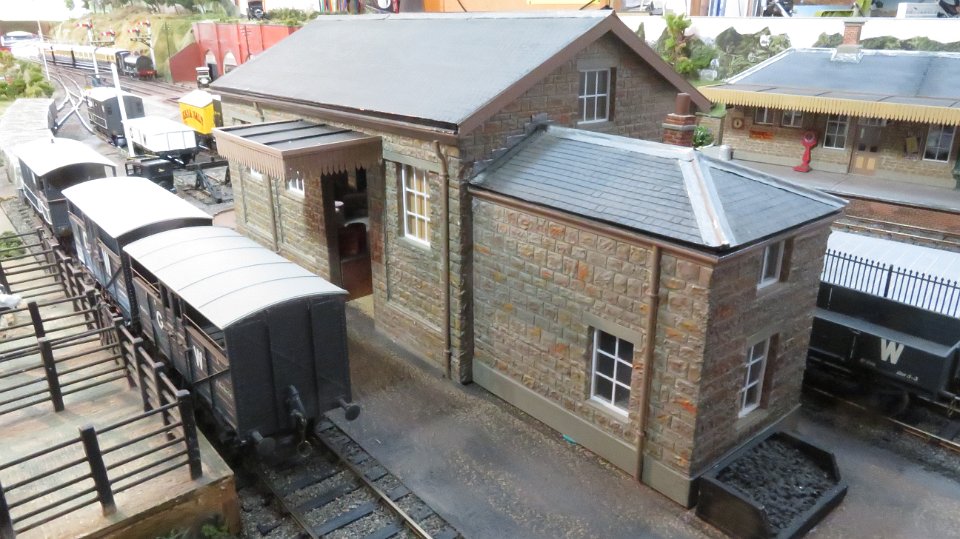 25 The goods shed and cattle dock. |
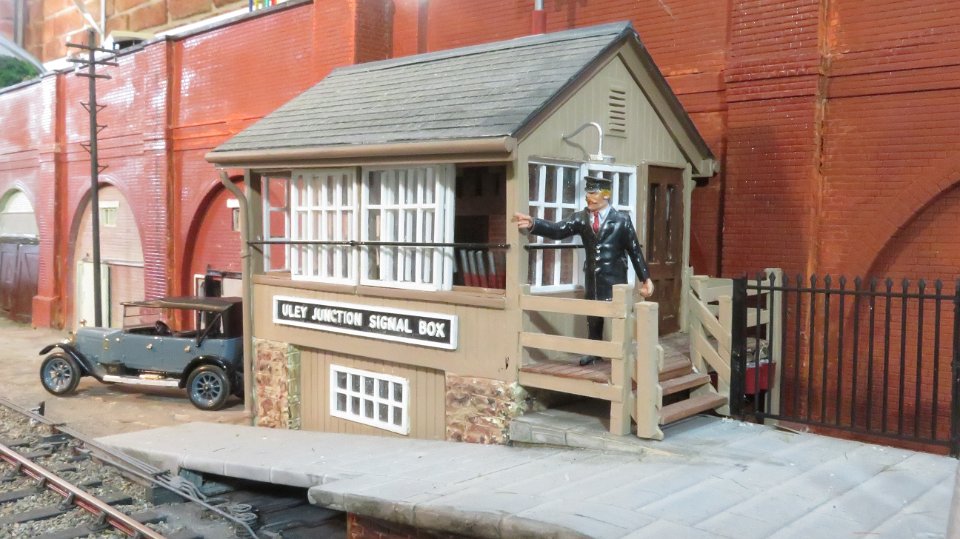 26 Uley Junction Signal Box. This is model of that currently in place at Bodmin General which was itself a rebuild of the original. The original had been demolished after closure of the branch. The 'new' Box was built by the preservation line. |
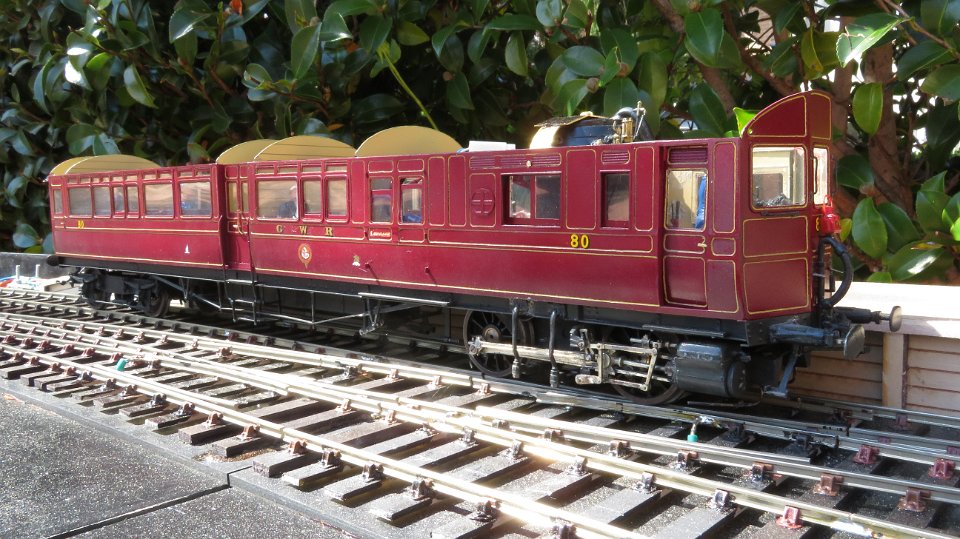 27 In this picture the steam railmotor is running (being tested) on the outdoor extension to Uley Junction called Uley Road. The railmotor had just undergone some modifications. |
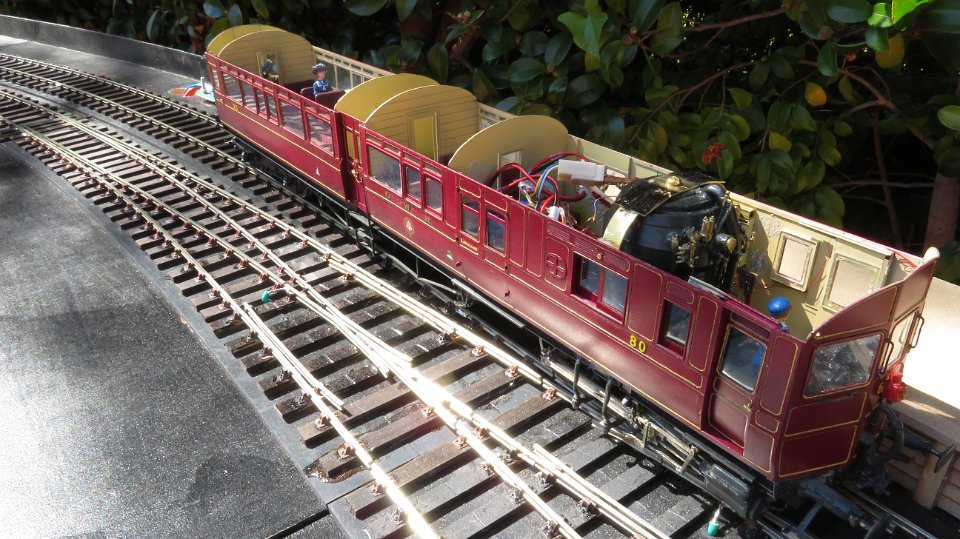 28 ... handy to see the passengers and crew enjoying some fresh air! |
 29 A view of Bridge Halt where the lead-in from Uley Junction joins the continuous circuit. |
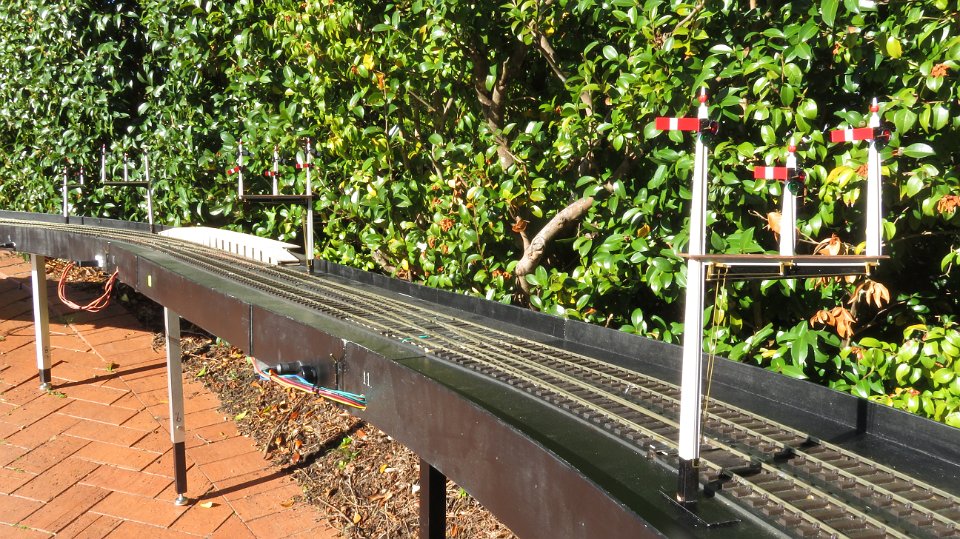
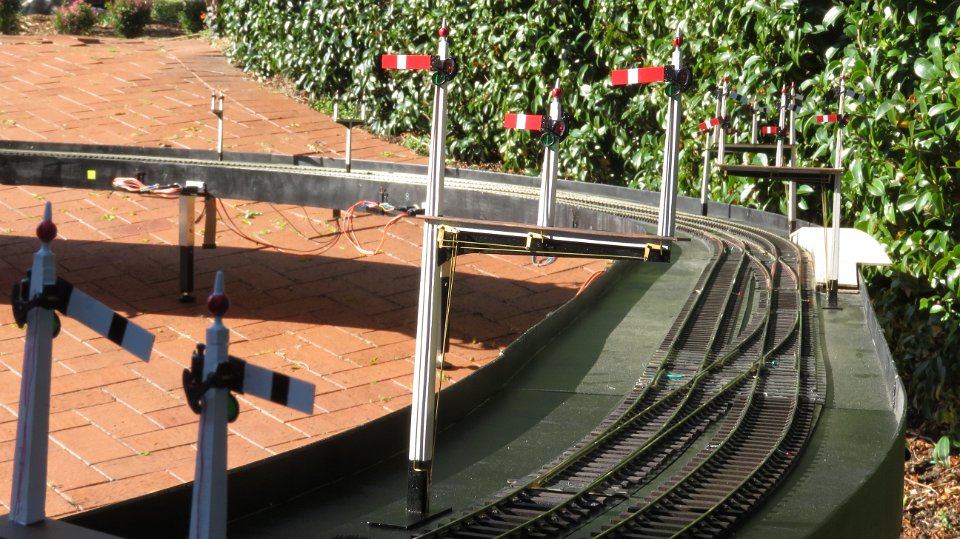
 30 The north end of Uley Road. From left to right... - branch passing loop (with siding) - branch platform - main platform - main passing loop 1 - main passing loop 2 Signalling is enough to enable operating sessions to be conducted but perhaps not entirely complete as per prototype practice. |
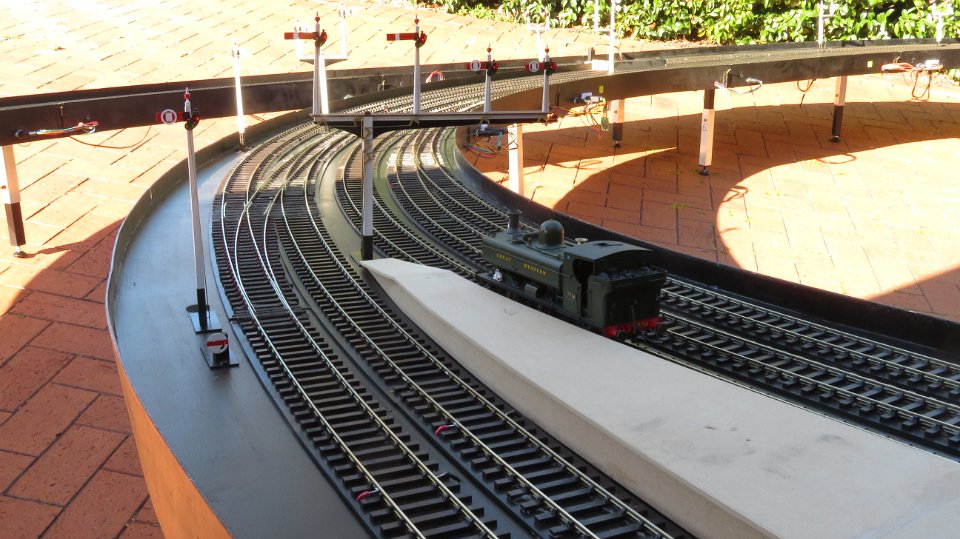
 31 ... and now the south end of Uley Road where a siding leaves the branch loop for access to the turntable. |
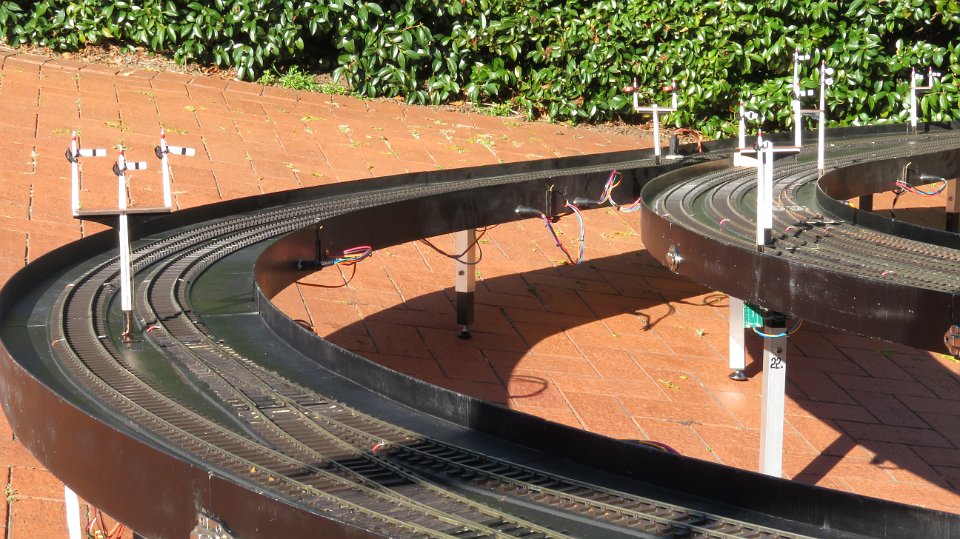
 32 The south end again but looking in the opposite direction. Signalling allows for continuous running in both directions on all lines. |
 33 At the opposite side of the continous run from Uley Road and near Bridge Halt is a connection to the LSWR for destinations such as Boscarne Junction. |
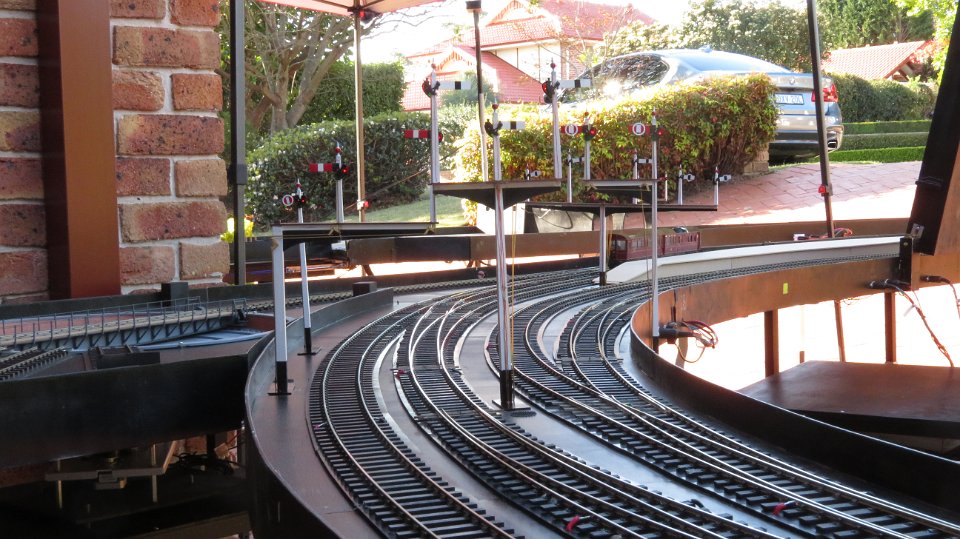
 34 ... and here is another view of the approaches to Bridge Halt from Uley Road (behind the camera). |
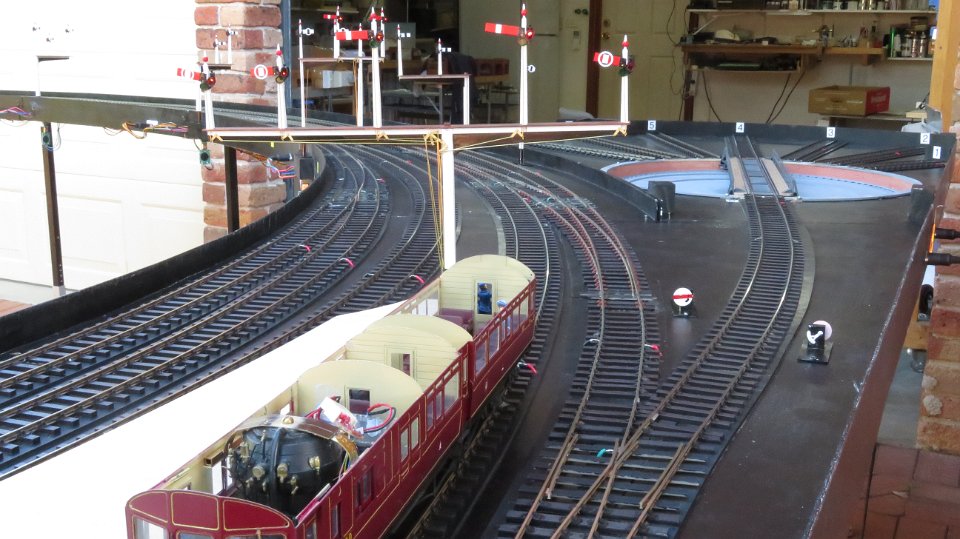
 35 On the left is the "lead-in" from Uley Junction (behind camera). The tracks on the right are the branch and main line continuous circuits with siding nearest the left. |
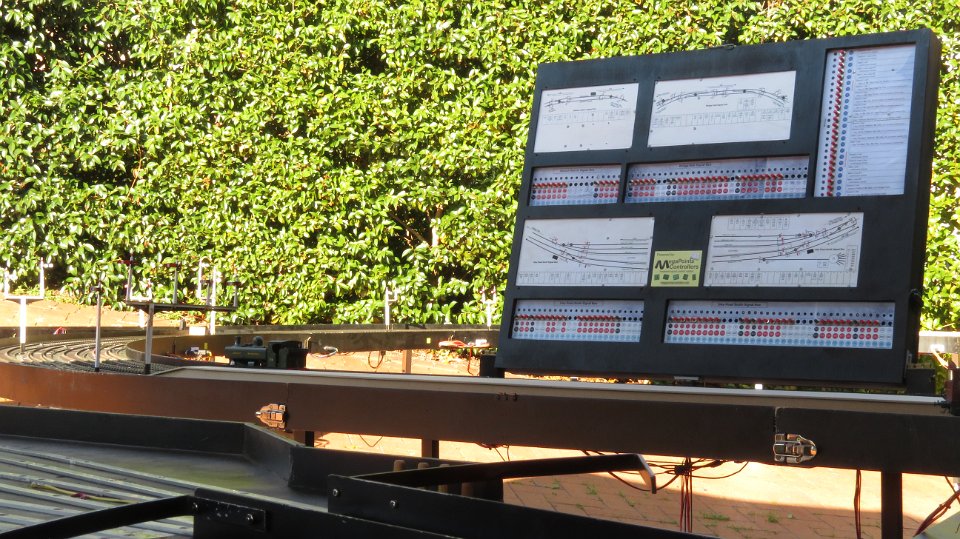 36 The Control Panel. This is actually divided into 4 signal boxes. From top left and advancing in a clockwise direction: - Branch lead-in - Bridge Halt - Uley Road South - Uley Road North |
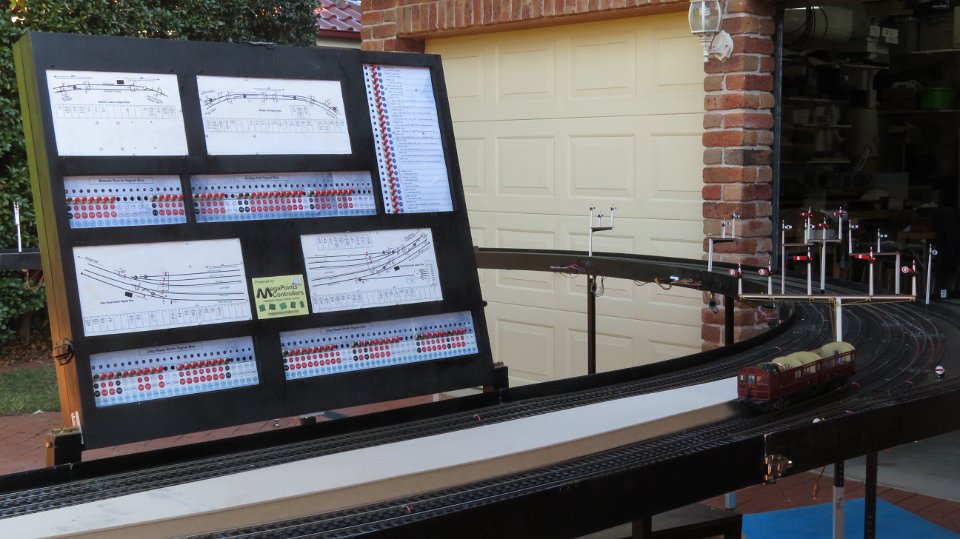 37 The Control Panel with a view facing south. The panel at top right allows Route selection for all signals and turnouts for a number of individual routes. The route selection provides a form of interlocking and eases the complexity for operations. |